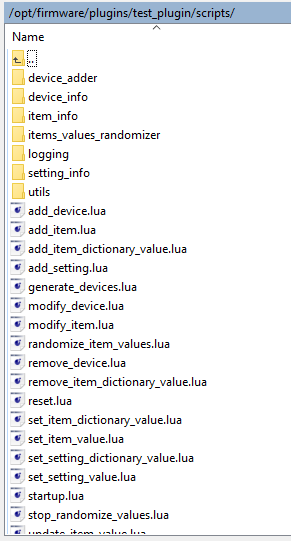
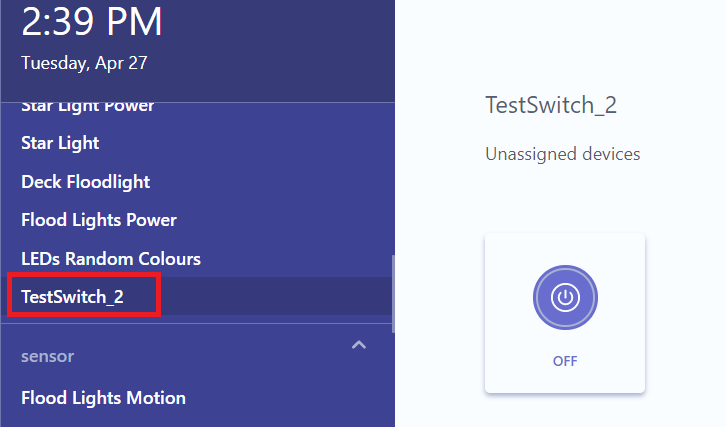
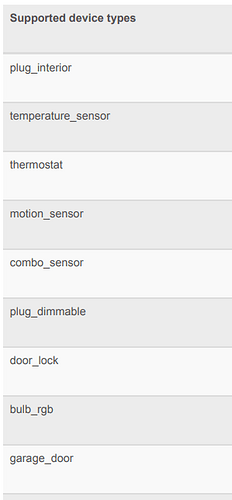
Update: This is now built into the Ezlogic web GUI see here. Which should make this guide obsolete.
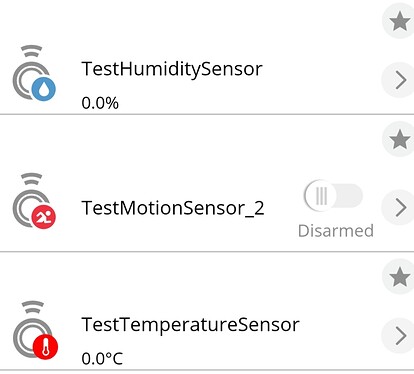
We can now create some virtual devices on the Ezlo Plus / Secure and Vera Edge running Ezlo firmware.
There are two methods you can use to install the Virtual Devices plugin.
Method 1 - Using SSH
You need to SSH in to your Ezlo controller using Putty or some other SSH client and run these two commands first:
The uername is: root and the password is on the sticker underneath the controller.
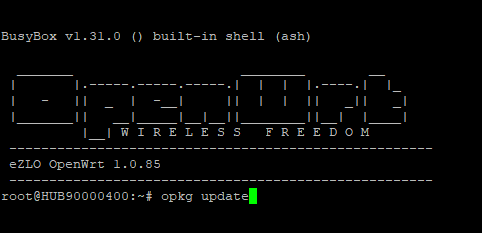
opkg update
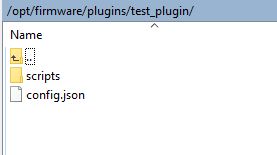
opkg install firmware-plugins-test_plugin
OR
Method 2 - Using API Tool
(NOTE:- This method doesn’t seem to work use Method 1 instead).
Go to the online Api tool here connect to the serial number of your Ezlo Plus. Use the “custom” option from the “API Calls” drop down box.
In the text box enter the codes below and hit the query button.
First we need to execute:
{
"method" : "hub.software.update.plan" ,
"id" : "_ID_" ,
"params" : {
"operation" : "install" ,
"type" : "plugin" ,
"id" : "test_plugin"
}
}
The result of the previous request should be inserted into this request:
{
"method" : "hub.software.update.execute" ,
"id" : "_ID_" ,
"params" : {
"actions" : [
<Result of previous command>
]
}
}
UPDATE: REBOOT your hub first in SSH by typing: reboot and hit enter.
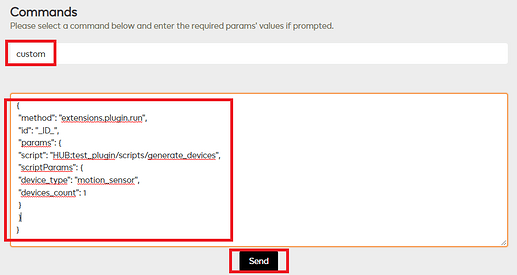
Once you have installed the Virtual Devices plugin, go to the online Api tool here connect to the serial number of your Ezlo Plus. Use the “custom” option from the “API Calls” drop down box.
In the text box enter this code and hit the query button to create a motion sensor.
{
 "method": "extensions.plugin.run",
 "id": "_ID_",
 "params": {
 "script": "HUB:test_plugin/scripts/generate_devices",
 "scriptParams": {
 "device_type": "motion_sensor",
 "devices_count": 1
 }
 }
}
or you can use the following codes
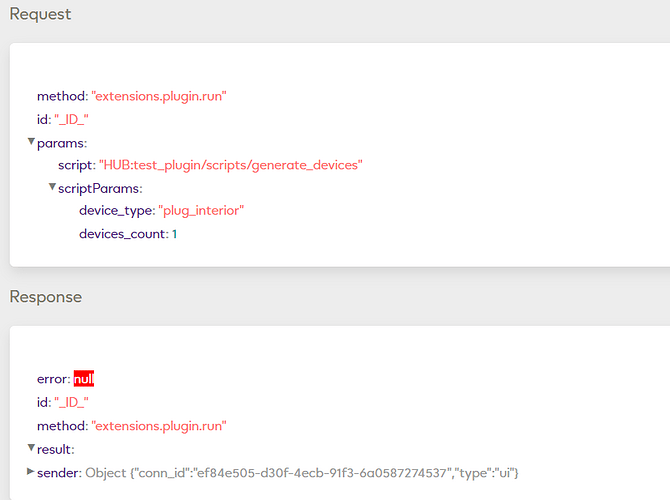
Plug Interior - Switch:
{
 "method": "extensions.plugin.run",
 "id": "_ID_",
 "params": {
 "script": "HUB:test_plugin/scripts/generate_devices",
 "scriptParams": {
 "device_type": "plug_interior",
 "devices_count": 1
 }
 }
}
Temperature Sensor:
{
 "method": "extensions.plugin.run",
 "id": "_ID_",
 "params": {
 "script": "HUB:test_plugin/scripts/generate_devices",
 "scriptParams": {
 "device_type": "temperature_sensor",
 "devices_count": 1
 }
 }
}
Thermostat:
{
 "method": "extensions.plugin.run",
 "id": "_ID_",
 "params": {
 "script": "HUB:test_plugin/scripts/generate_devices",
 "scriptParams": {
 "device_type": "thermostat",
 "devices_count": 1
 }
 }
}
Combo Sensor: (Humidity , Temp and Motion Sensor)
{
 "method": "extensions.plugin.run",
 "id": "_ID_",
 "params": {
 "script": "HUB:test_plugin/scripts/generate_devices",
 "scriptParams": {
 "device_type": "combo_sensor",
 "devices_count": 1
 }
 }
}
Plug Dimmable:
{
 "method": "extensions.plugin.run",
 "id": "_ID_",
 "params": {
 "script": "HUB:test_plugin/scripts/generate_devices",
 "scriptParams": {
 "device_type": "plug_dimmable",
 "devices_count": 1
 }
 }
}
Door Lock:
{
 "method": "extensions.plugin.run",
 "id": "_ID_",
 "params": {
 "script": "HUB:test_plugin/scripts/generate_devices",
 "scriptParams": {
 "device_type": "door_lock",
 "devices_count": 1
 }
 }
}
Bulb RGB:
{
 "method": "extensions.plugin.run",
 "id": "_ID_",
 "params": {
 "script": "HUB:test_plugin/scripts/generate_devices",
 "scriptParams": {
 "device_type": "bulb_rgb",
 "devices_count": 1
 }
 }
}
Garage Door:
{
 "method": "extensions.plugin.run",
 "id": "_ID_",
 "params": {
 "script": "HUB:test_plugin/scripts/generate_devices",
 "scriptParams": {
 "device_type": "garage_door",
 "devices_count": 1
 }
 }
}
Roller Shutter / Window Covering:
{
 "method": "extensions.plugin.run",
 "id": "_ID_",
 "params": {
 "script": "HUB:test_plugin/scripts/generate_devices",
 "scriptParams": {
 "device_type": "shutter_SWF",
 "devices_count": 1
 }
 }
}
To delete a virtual device:
{
    "method": "extensions.plugin.run",
    "id": "_ID_",
    "params": {
        "script": "HUB:test_plugin/scripts/remove_device",
        "scriptParams": {
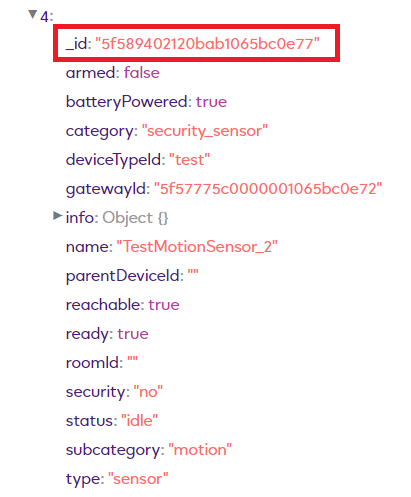
            "device_id": "5f589402120bab1065bc0e77"
        }
    }
}
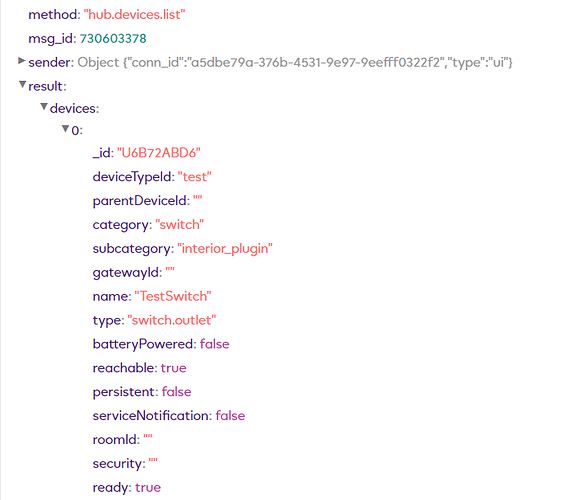
You can find the device ID of the device you wish to delete by using the hub.devices.list query in the online API Tool and looking in the Response section and Result.
Virtual Device API documentation:
VirtualDevices_API.pdf (87.7 KB)
Also see here the Vera to Ezlo Bridge plugin, if you want to create virtual devices on the Ezlo Plus hub that actually control real devices on your Vera hub.
UPDATE:
Below you can find some more detailed instructions on how to use Putty to connect to SSH Terminal.
Putty for Windows can be downloaded here you probably want the one called 64-bit x86.
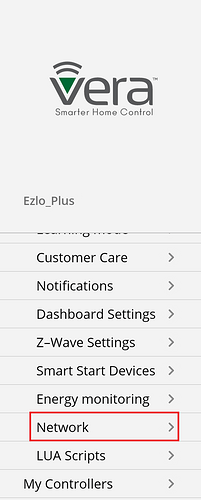
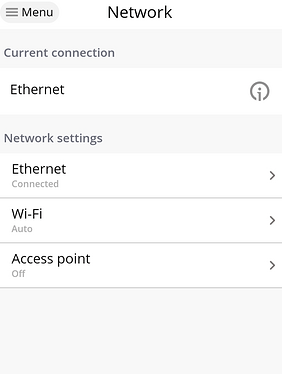
In the Vera mobile app go to Settings - Network from the menu.
Make a note of the Current Connection, Ethernet or WIFI etc. Mine is Ethernet so I select that from this page
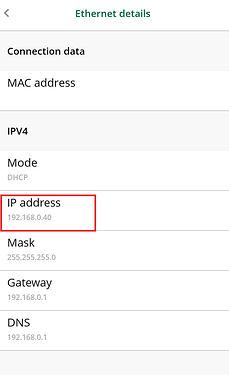
On the next page make a note of your Ezlo controllers IP address
Open the Putty client program you should of installed and create a connection
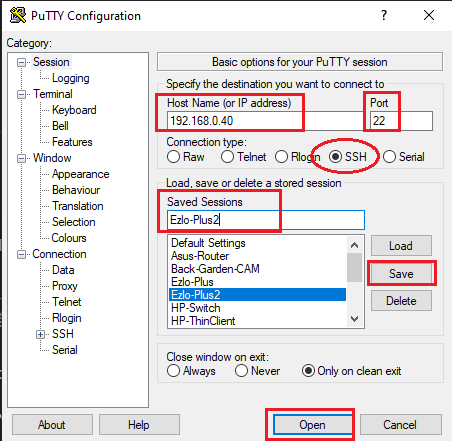
Enter the IP address of your Ezlo Hub the port number should be 22 and SSH should be selected.
You can also enter a name in to the “Saved Sessions” field, to save this connection session and then press the save button.
To actually connect press the Open button.
In the terminal window enter the user name “root” and the WIFI password from the sticker underneath your Ezlo controller.
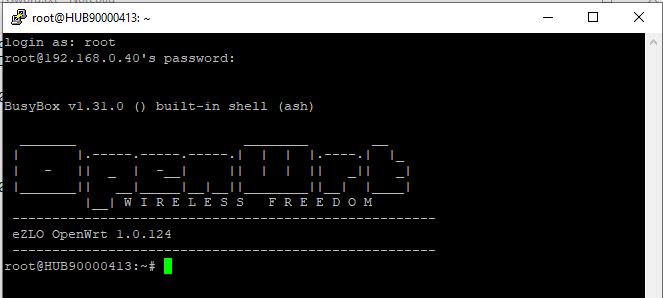
Once logged in to the terminal you can issue the two commands to install the required virtual devices plugin.
opkg update
opkg install firmware-plugins-test_plugin
- Reboot your hub to complete the plugin installation. Type ‘reboot’ at the Putty (or other client) window then hit ‘Enter’.
Now you need to use the Online API Tool and issue the code commands in there to start creating your virtual devices.
You can now follow the rest of the setup from the official guide here in the “Create your Virtual Switches” section.
