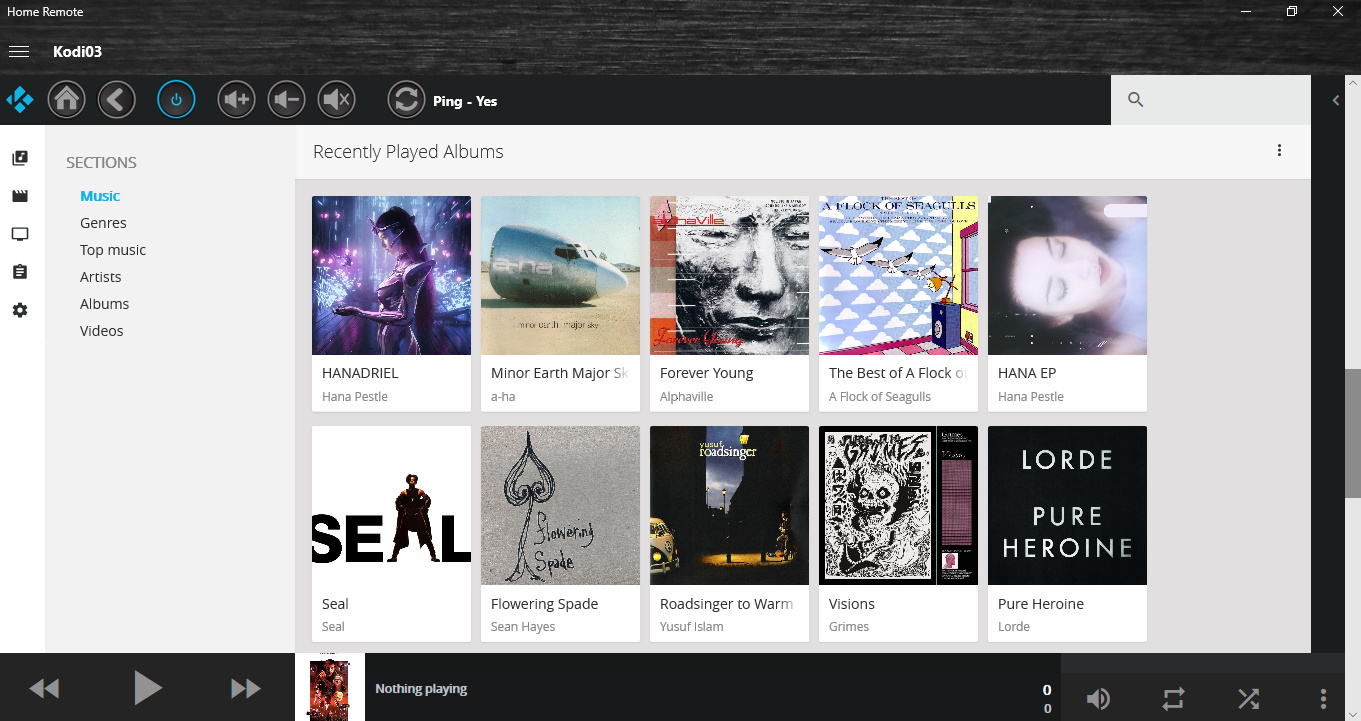
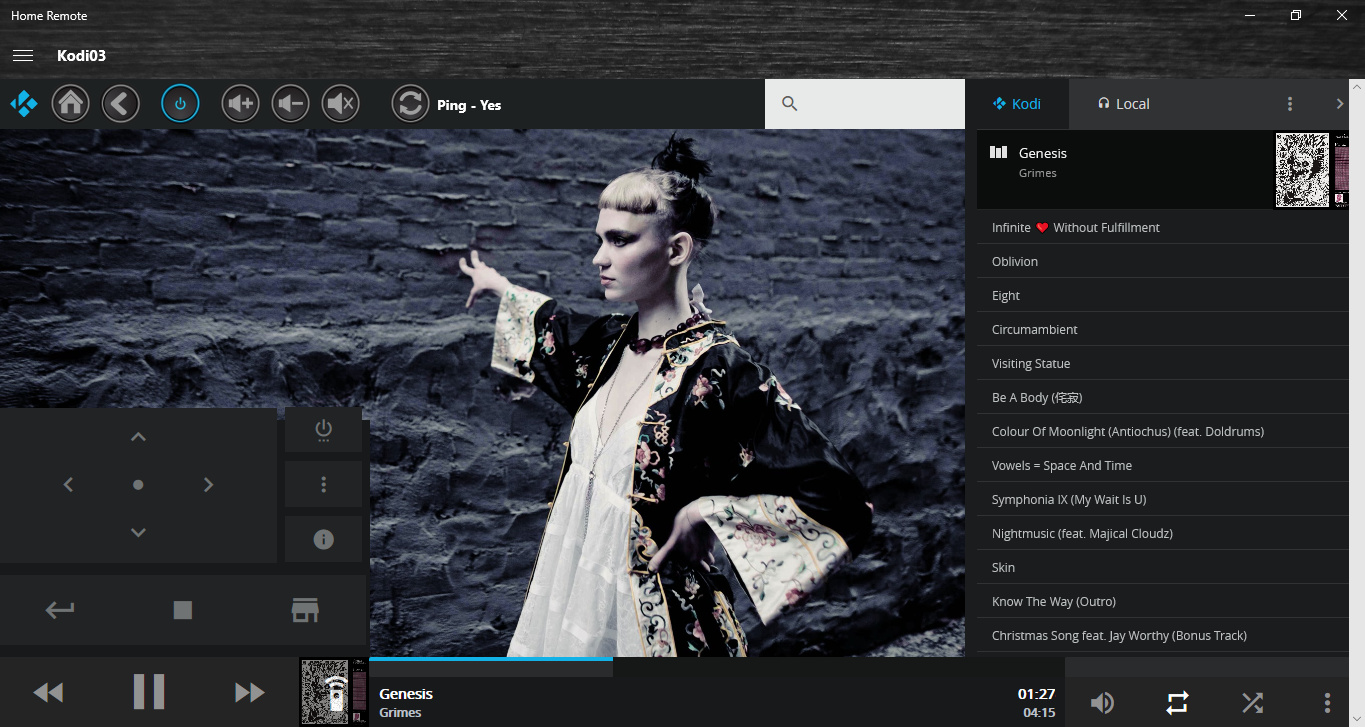
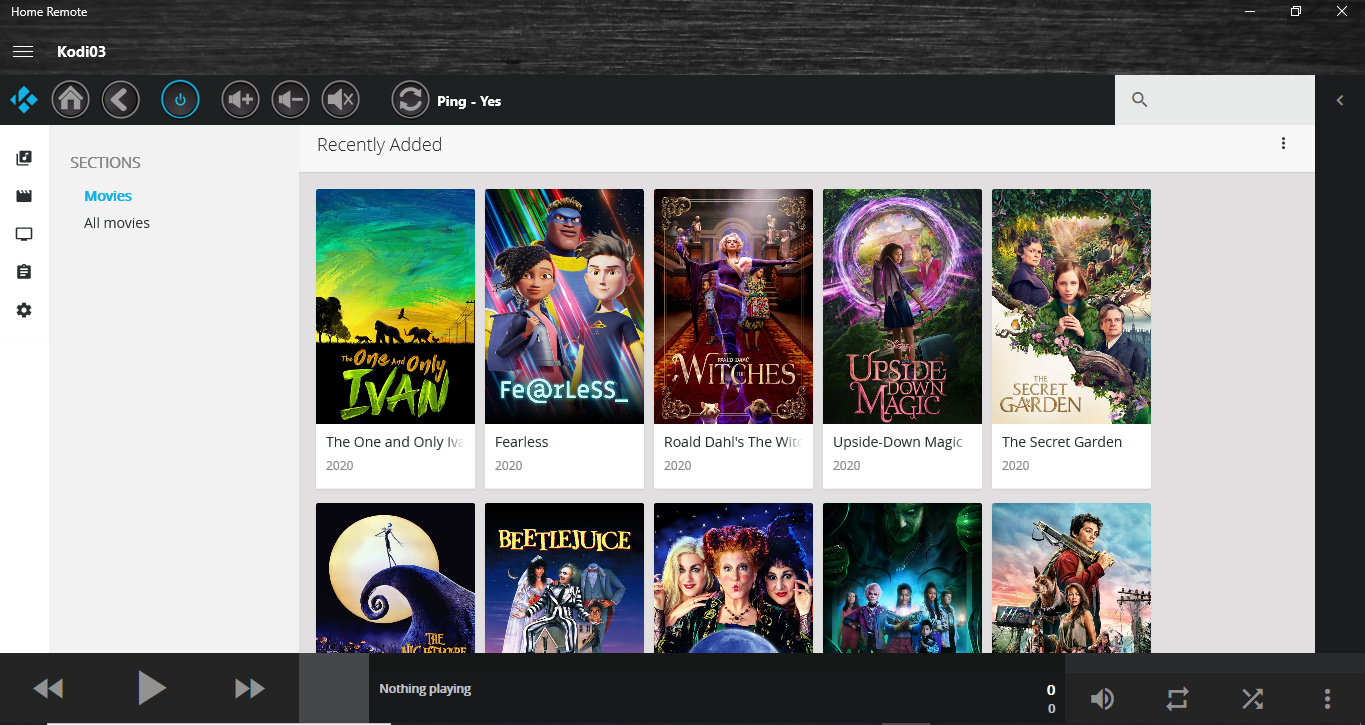
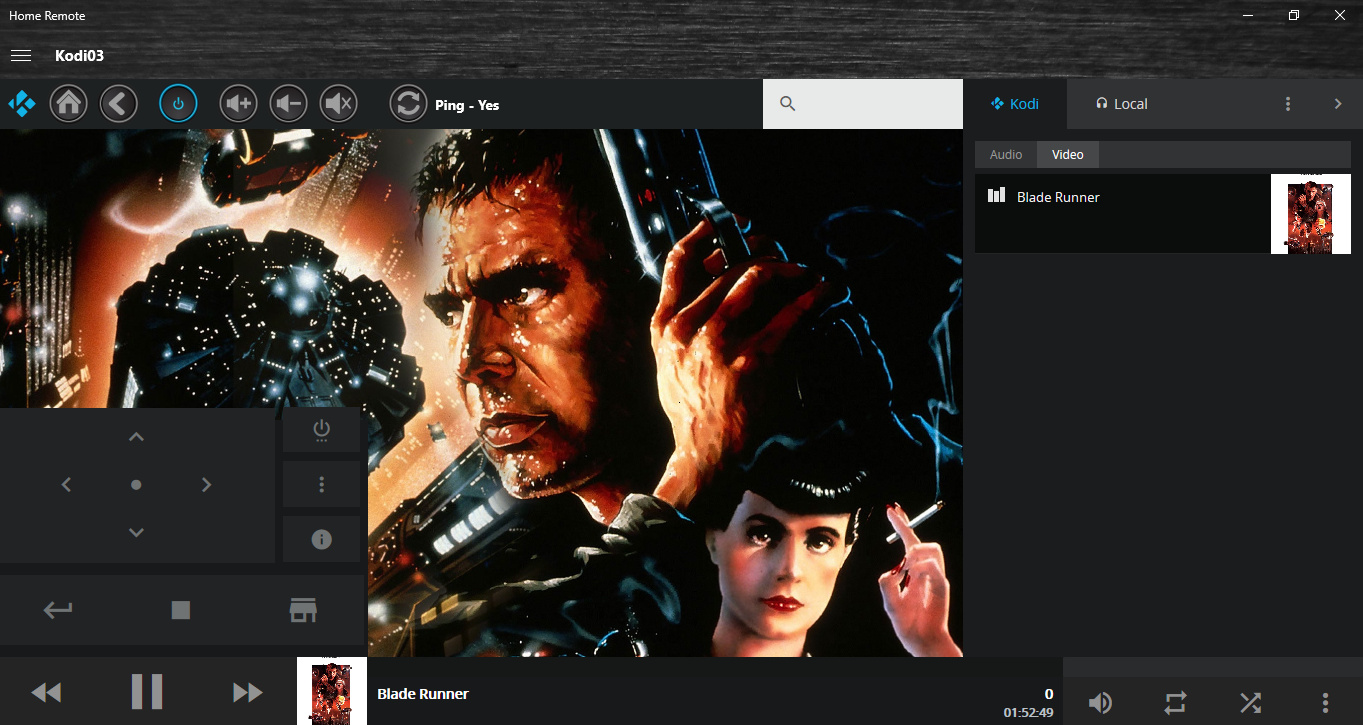
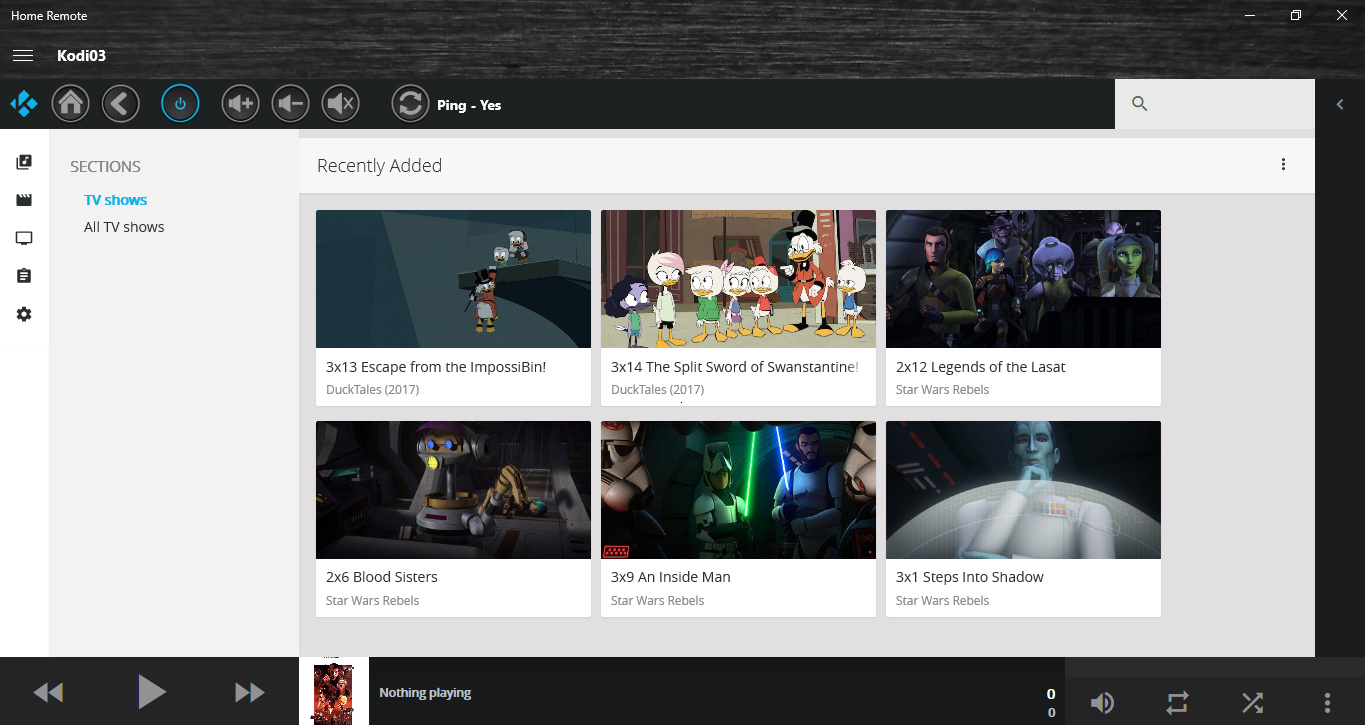
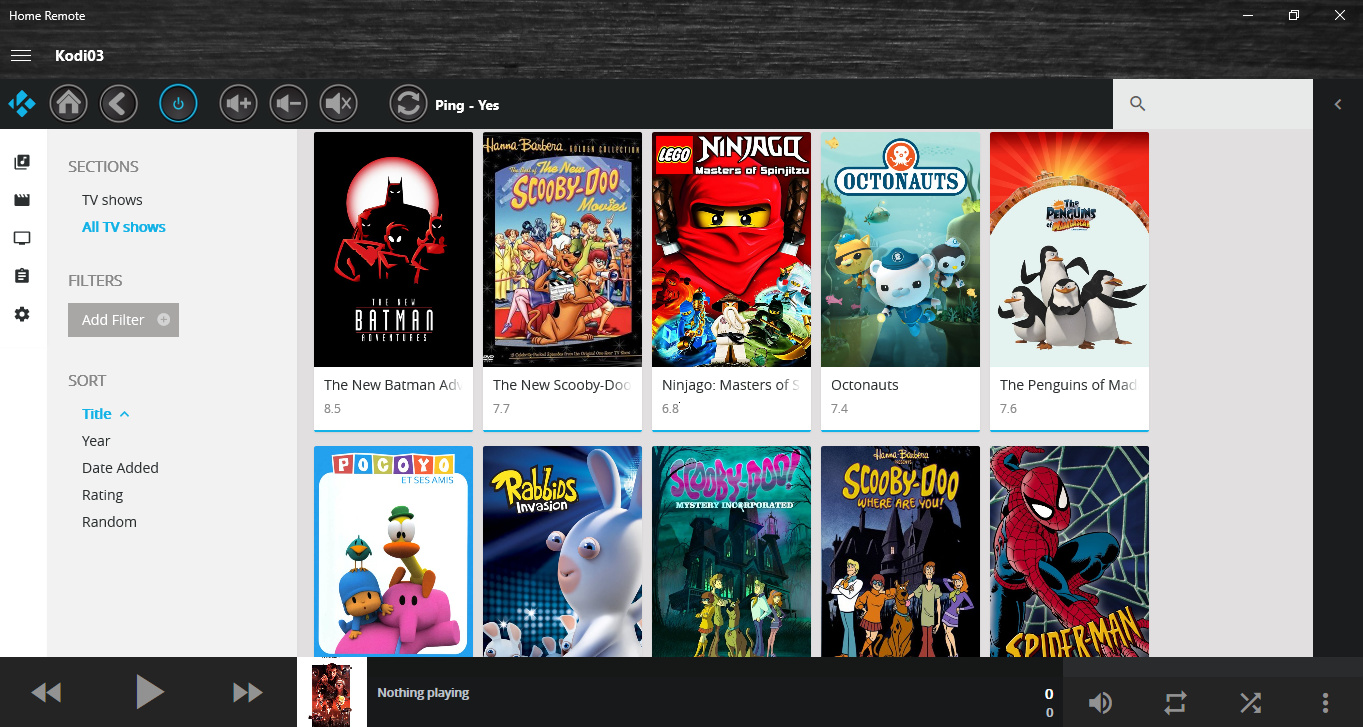
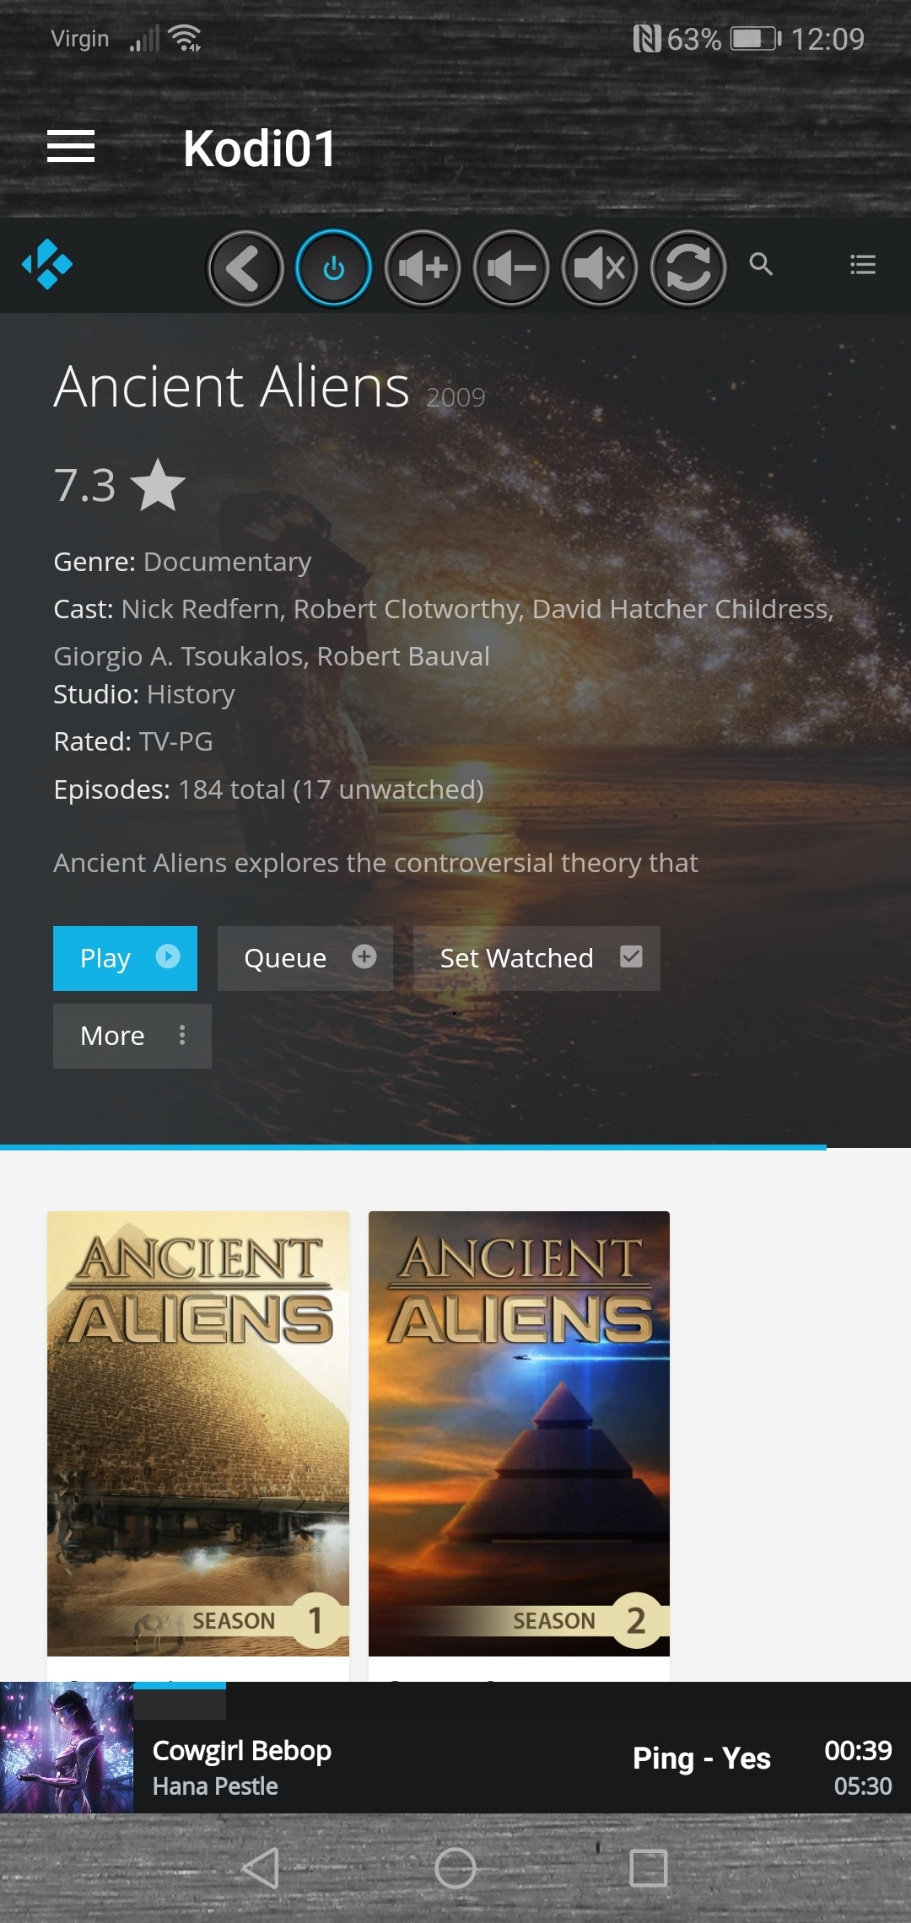
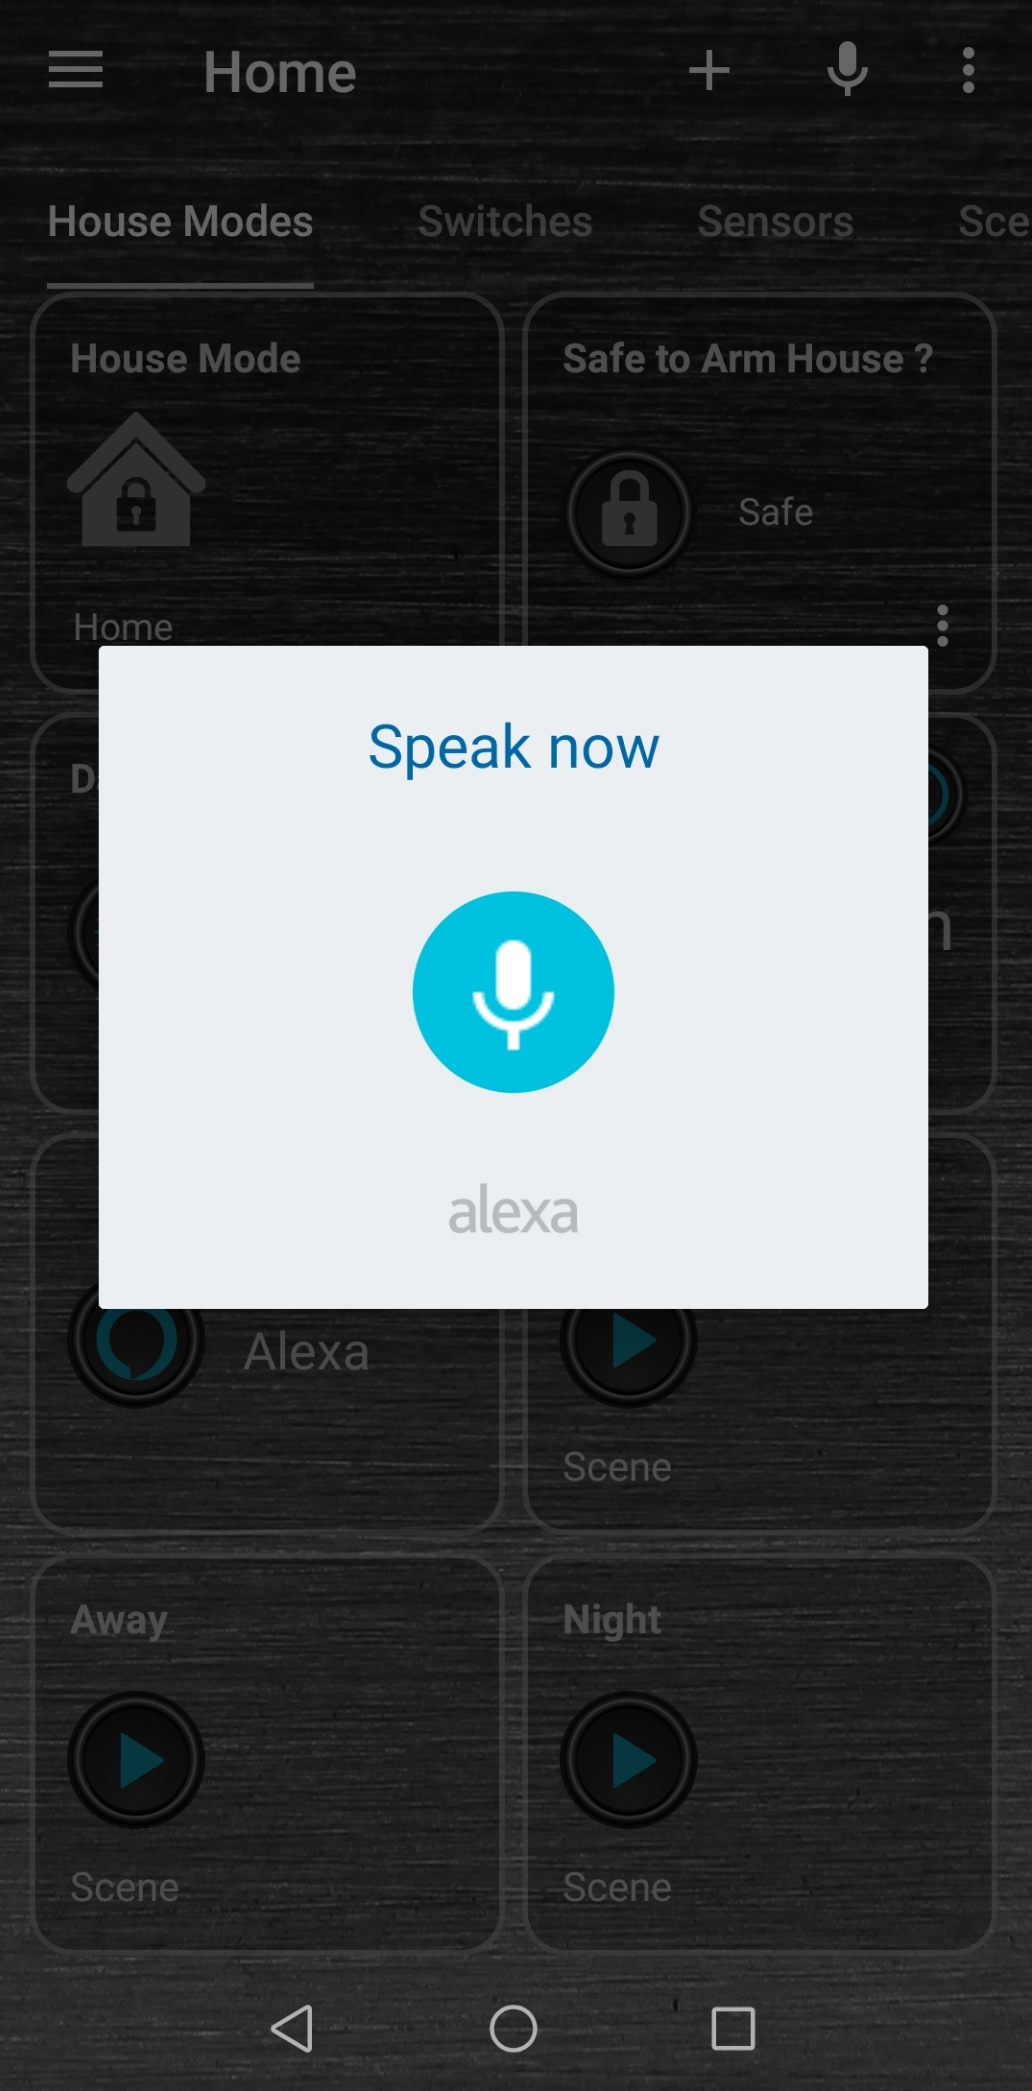
Kodi Chorus2 web GUI pages added today, with custom Home Remote control buttons overlaid on top.
Home - Goes to Home Page of the Home Remote app
Back Arrow - Browser Back
Power Button - Controls Harmony HTPC activity - PowerToggle
Vol Up / Down / Mute - TV or AVR Amplifier buttons via Harmony activity
Refresh - Refreshes the web page
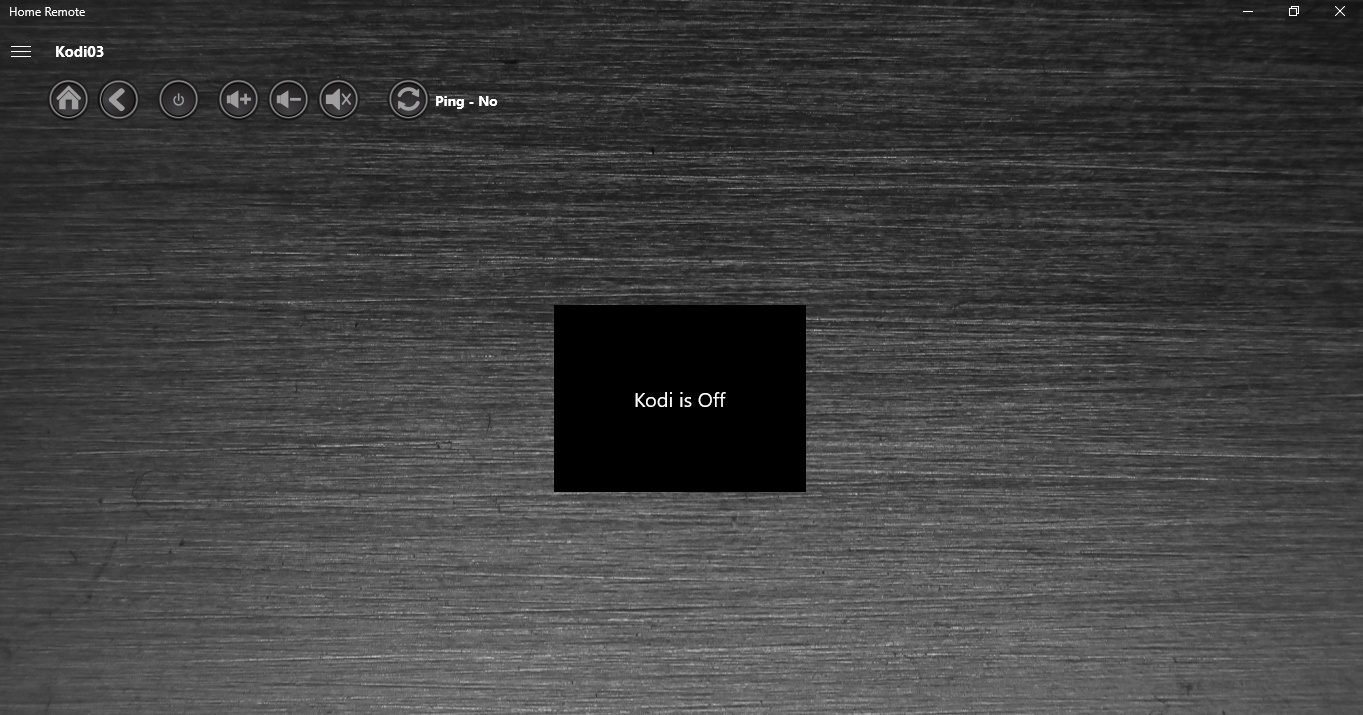
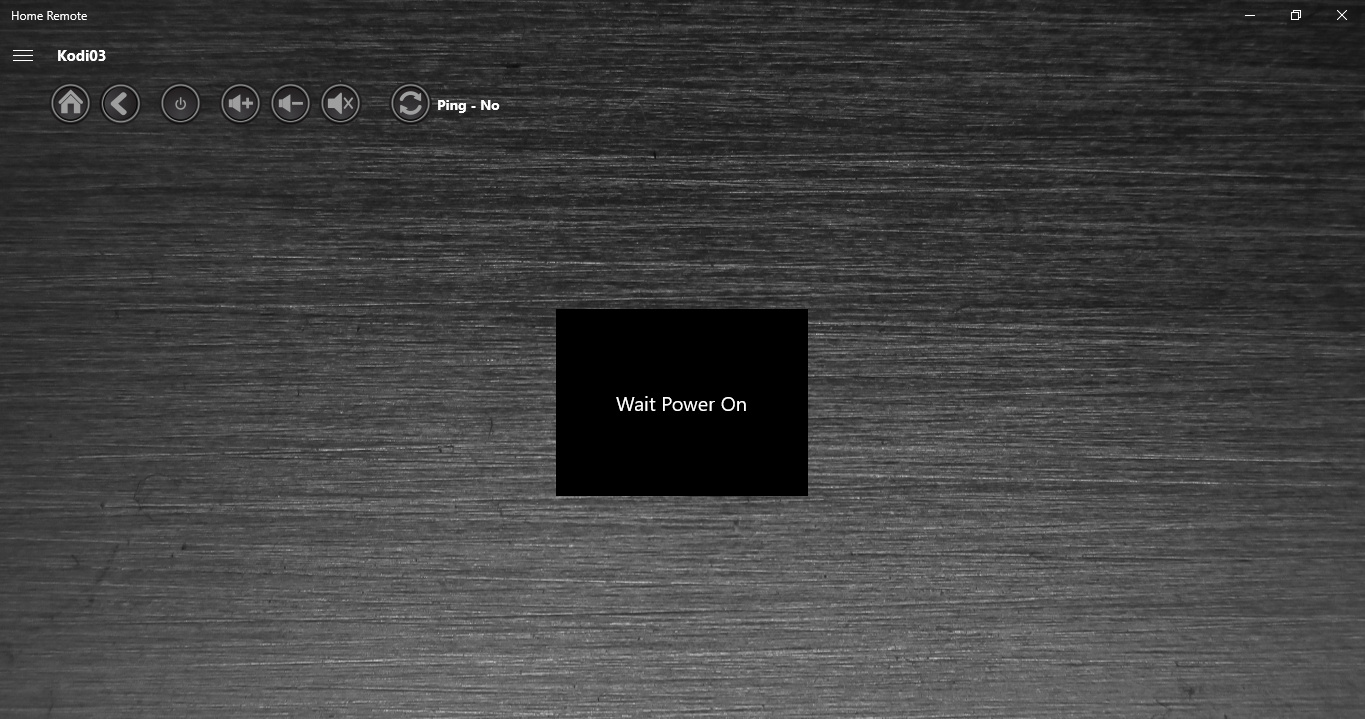
Label - Ping Yes / No - WOLPingPlus plugin devices in Vera, for Kodi PCs.
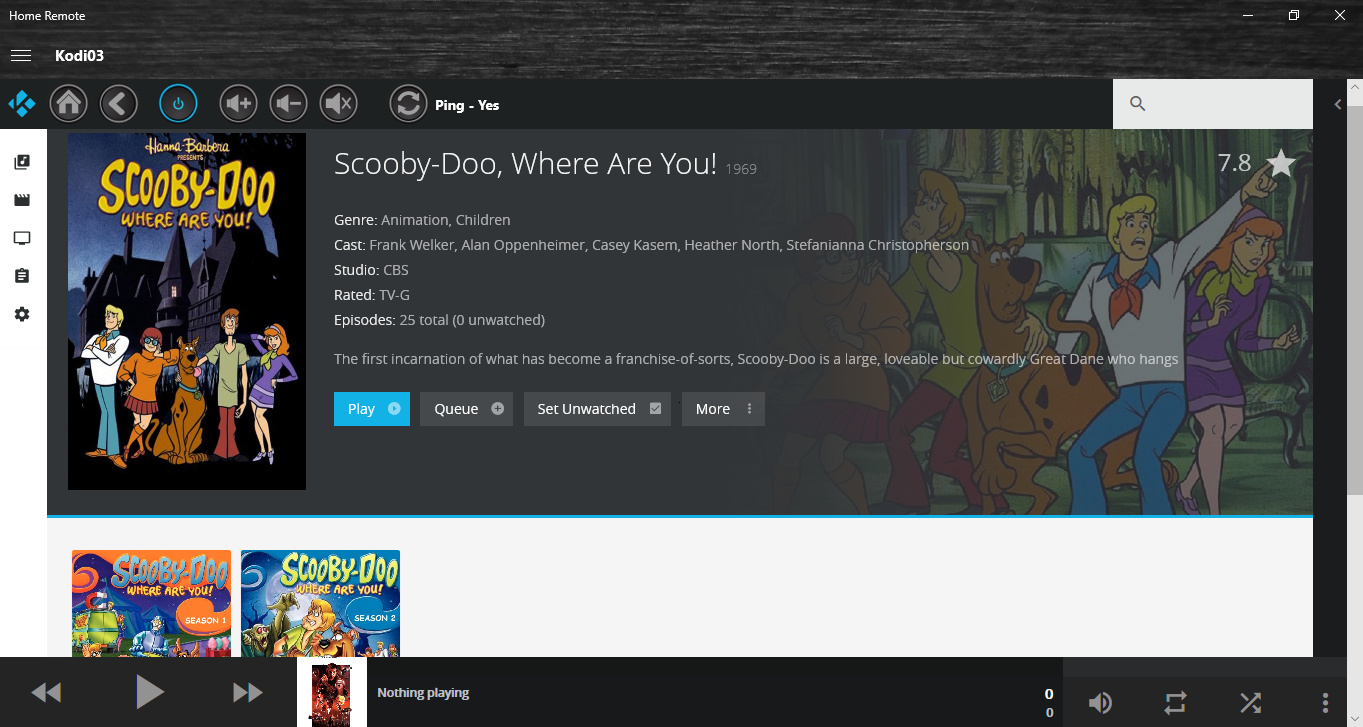
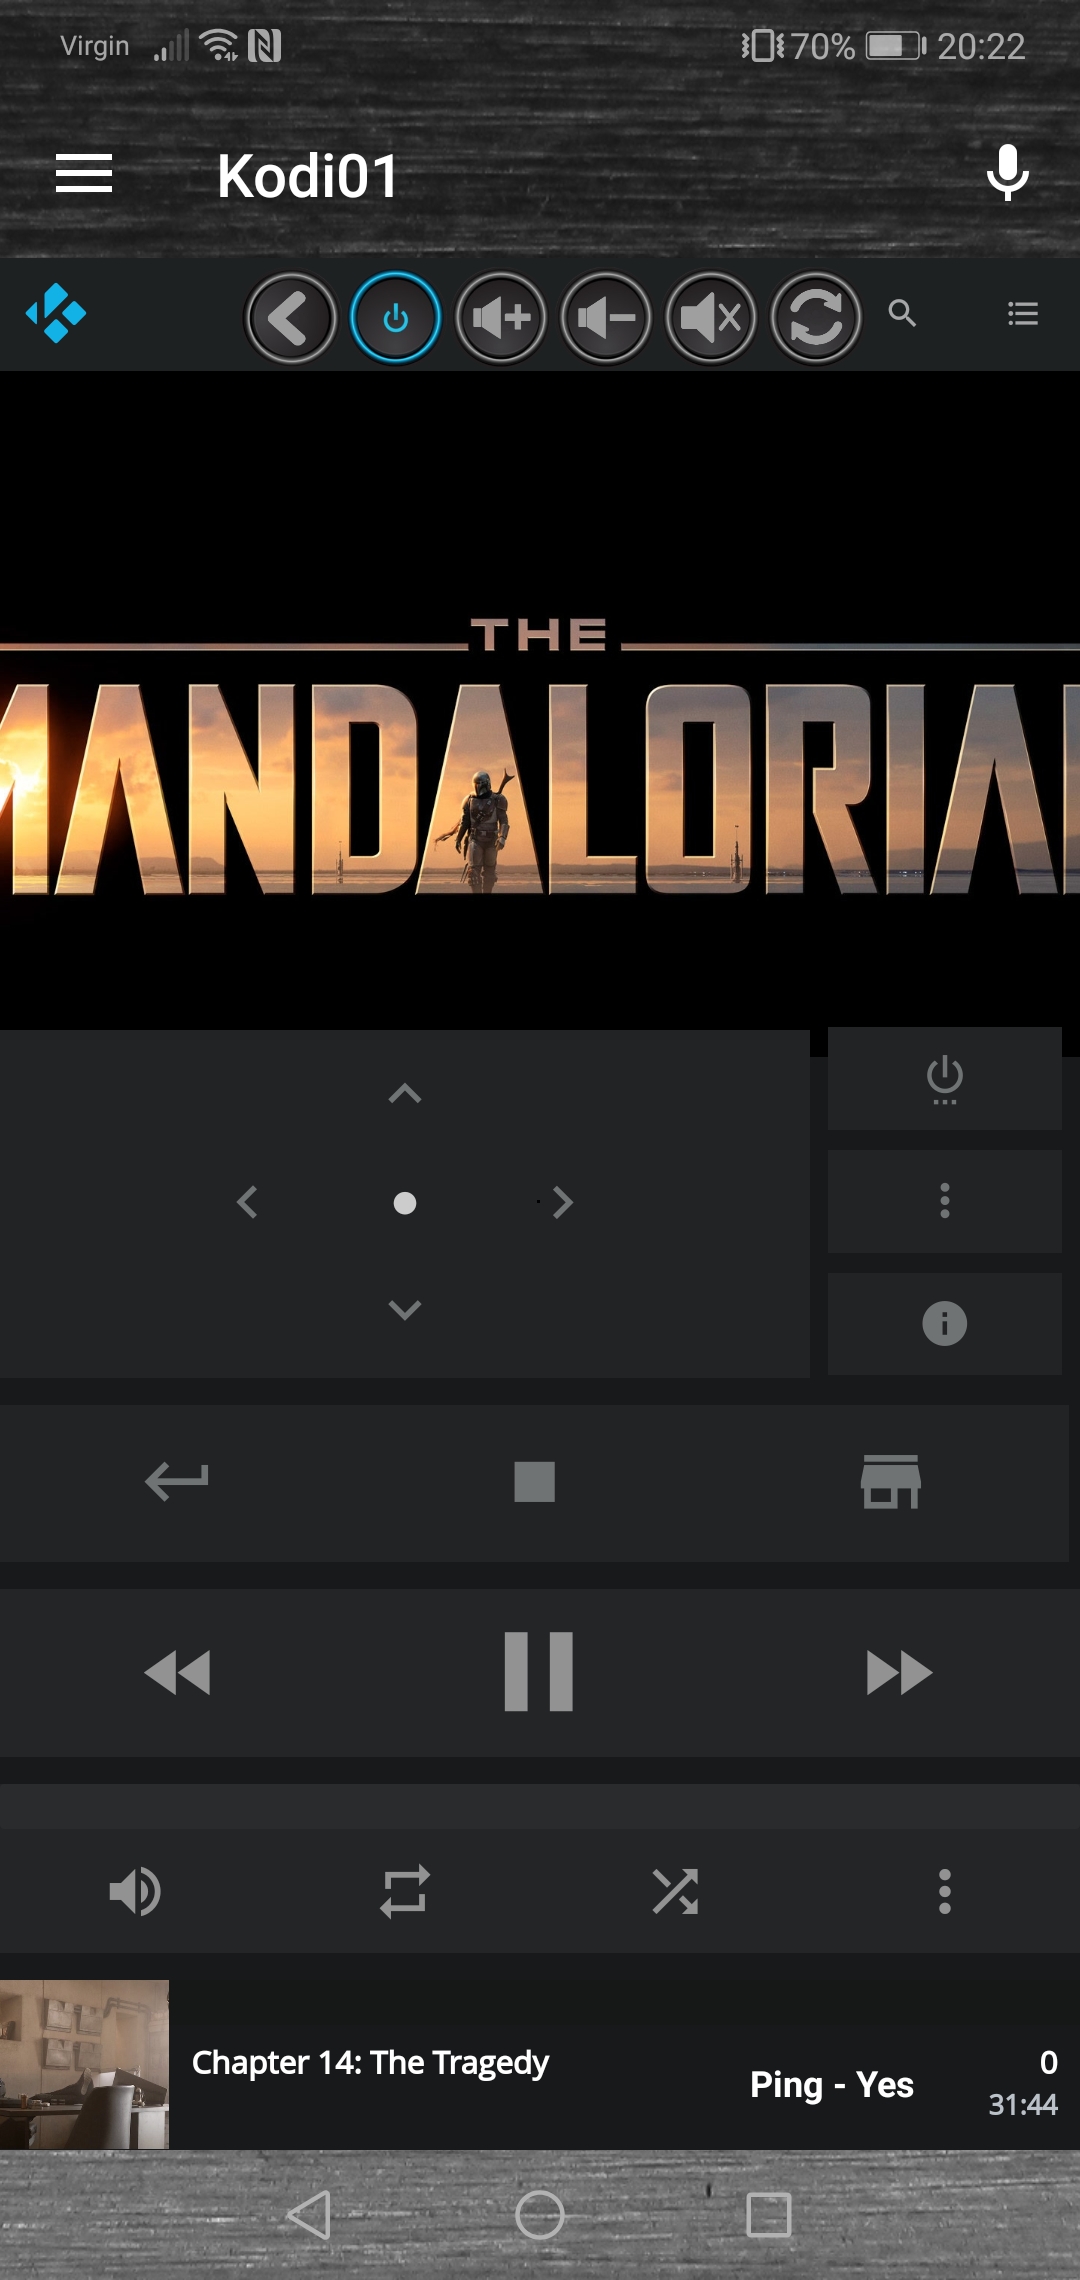
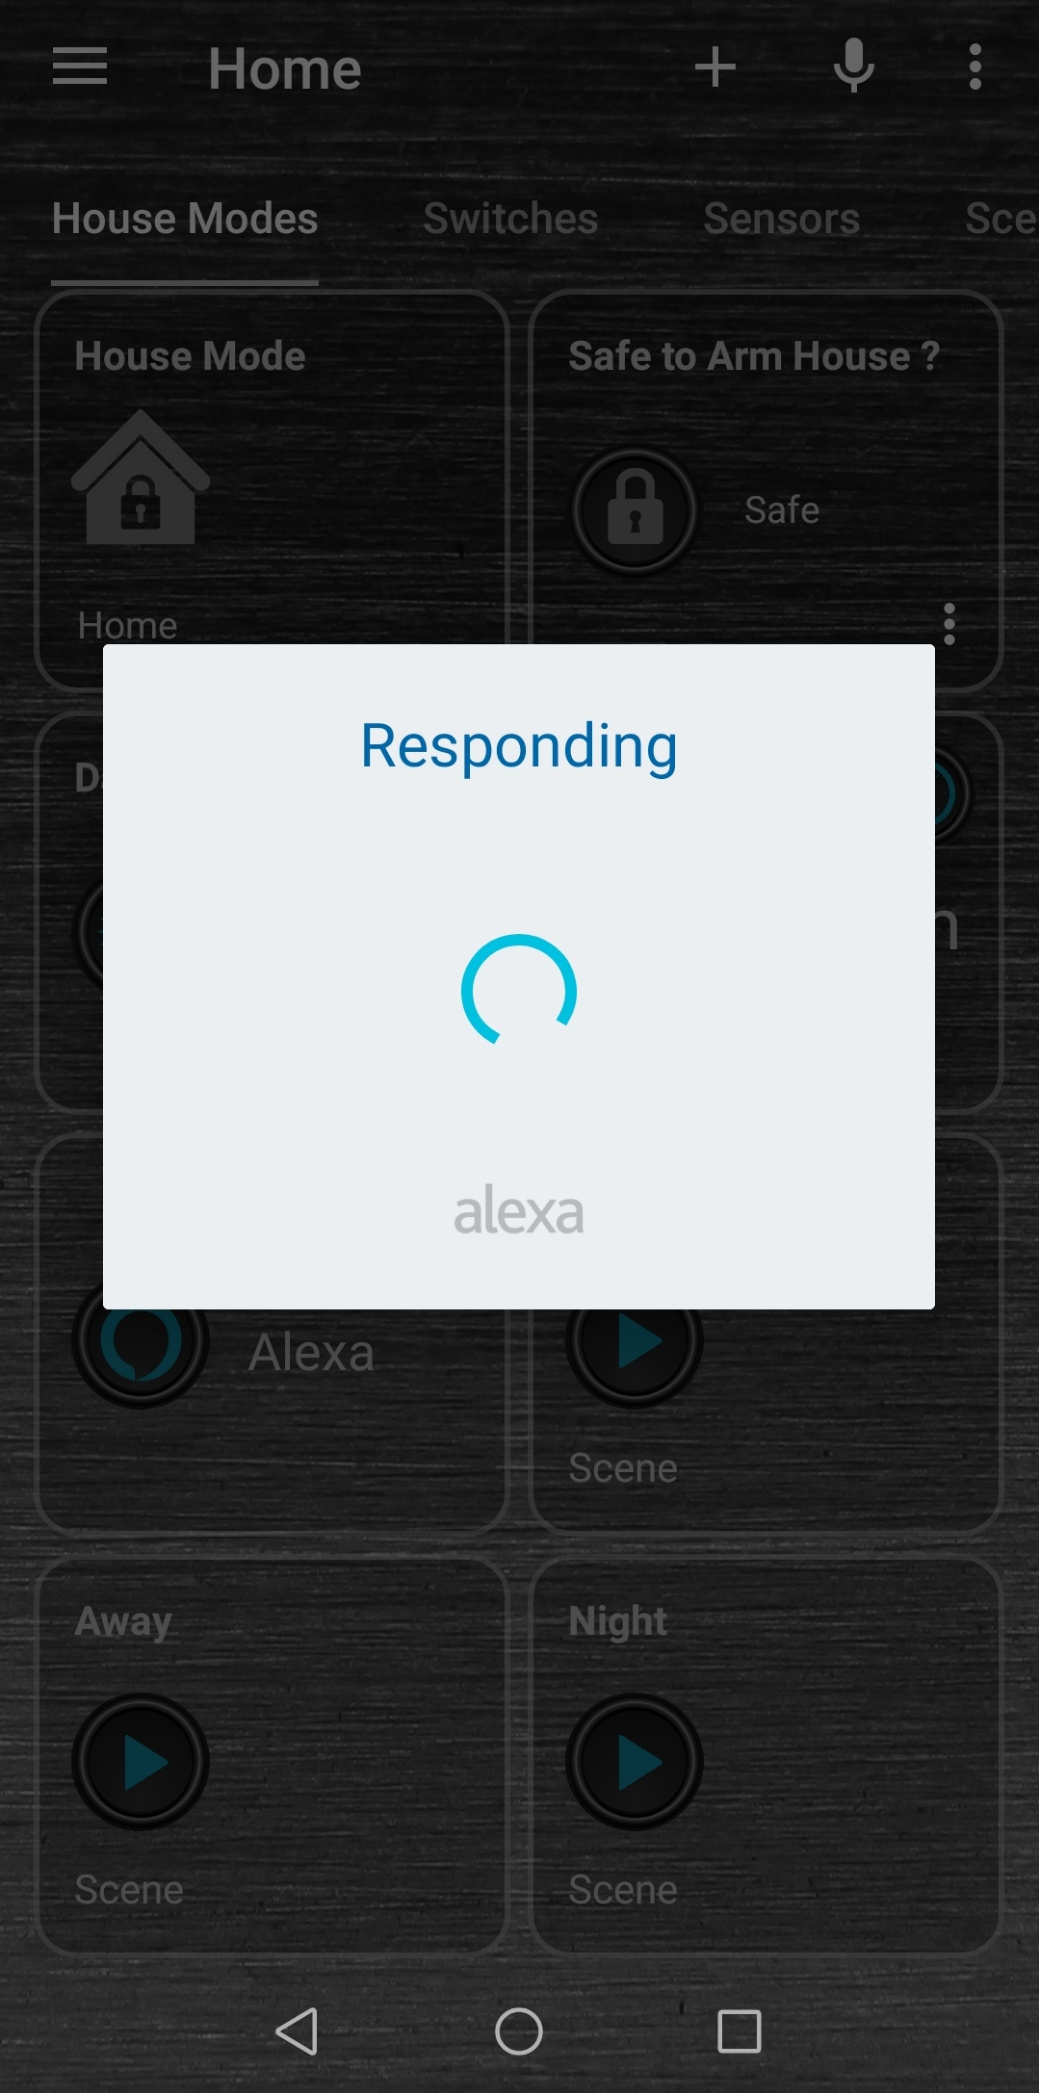
The web browser panel is linked to the status of the WOLPlusPing plugin device in Vera. If the WOLPlusPing virtual switch for the Kodi PC is OFF then the web browser panel is hidden and a “Kodi is Off” banner is displayed.
The Ping Label is looking at this WOLPlusPing virtual switch and says NO if it can’t ping the Kodi PC.
I may decide to upload all my Home Remote .xaml custom pages, tiles and detailed tiles pages and icons, at some point if enough people express interest. I am still building it out so not gonna promise anything just yet.
That’s interesting.
Never looked any further at home remote, after noticing the logon box for the Vera credentials.
But if it uses the local link, maybe that would open up some possibilities.
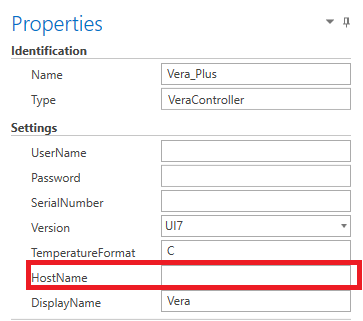
Will look into it again to see if I can enter the openluup-ip. Let’s hope that works.
Bill the Home Remote developer says he will improve the “Vera” connection. In the next release he said we should be able to specify a username and password for the Vera cloud account or just specify a local IP address, at initial connection configuration.
However one user has already confirmed he was able to connect Home Remote to OpenLuup and it imported his devices.
By first entering a Vera username and password to initially create the Vera connection object, in the Home Remote designer application.
And then by editing the Vera connection object and removing the username and password and entering a local IP address instead in to the Hostname field, for the OpenLuup instance.
If it would be possible to have a URL with basic authentication that would be nice. For example make an openLuupController type and have an local IP and remote URL with basic authentication and have the rest work just as a Vera it would work. Can you pass this to Bill?
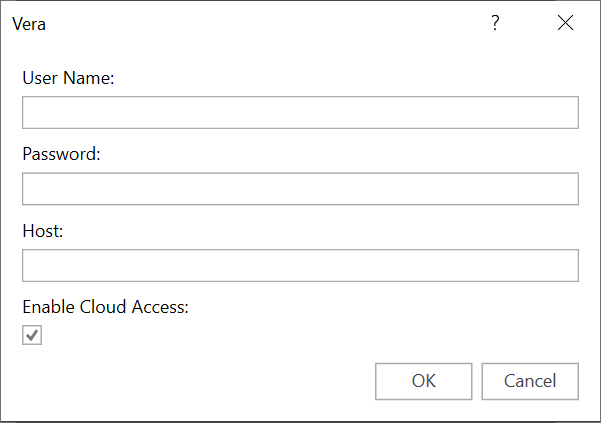
The next 3.14.0 release is going to include a new EnableCloudAccess setting. This will be the new way to bypass the Vera cloud servers entirely. Both during normal runtime & when initially adding the controller to the Home Remote.
Additionally, when this unchecked, if a Username & Password is provided, those will be used to generate a Basic authentication header for the requests.
@cw-kid Heavily inspired by how you use The Home Remote to replace Imperihome I also started . Getting all devices of my Vera controllers and Fibaro Homecenter in was easy. Also building up Groups and subgroups with all the devices was not that difficult. Now I started to tweak and adapt layoutt, colours and labels. This is more difficult but your examples helped a lot. Thanks for that!!
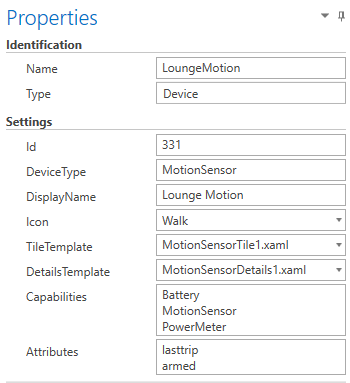
One of the questions I have is about the motion sensors. You added the last trip and changed lay out or the tiles and also the colour (red when the motion sensor is tripped. Dit you just adapt the standerd templates MotionSensorTile.xaml and MotionSensorDetails.xaml or did you copy and saved with a different name. I now have made some adjustments to the standard templates but I wonder what happens when updates are installed ?
I would first create a new folder under the Templates folder in the designer, to keep your modified .xaml files separate from the default template files.
Just right click and copy the two .xaml files from your desktop or where ever and then right click your new folder in the designer and select paste.