Bill the Home Remote developer says he will improve the “Vera” connection. In the next release he said we should be able to specify a username and password for the Vera cloud account or just specify a local IP address, at initial connection configuration.
However one user has already confirmed he was able to connect Home Remote to OpenLuup and it imported his devices.
By first entering a Vera username and password to initially create the Vera connection object, in the Home Remote designer application.
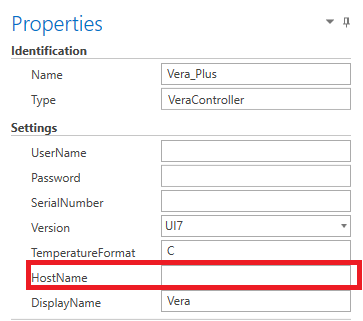
And then by editing the Vera connection object and removing the username and password and entering a local IP address instead in to the Hostname field, for the OpenLuup instance.
If it would be possible to have a URL with basic authentication that would be nice. For example make an openLuupController type and have an local IP and remote URL with basic authentication and have the rest work just as a Vera it would work. Can you pass this to Bill?
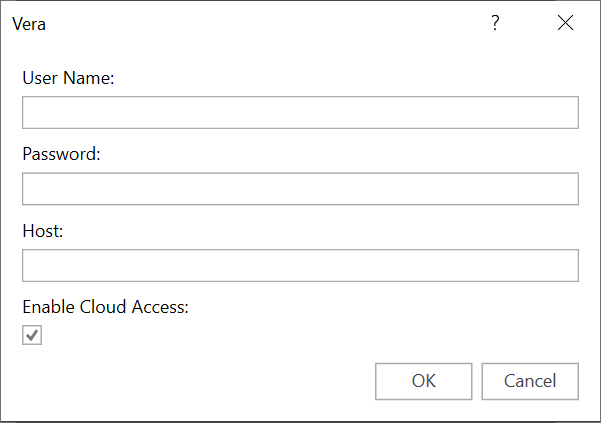
The next 3.14.0 release is going to include a new EnableCloudAccess setting. This will be the new way to bypass the Vera cloud servers entirely. Both during normal runtime & when initially adding the controller to the Home Remote.
Additionally, when this unchecked, if a Username & Password is provided, those will be used to generate a Basic authentication header for the requests.
@cw-kid Heavily inspired by how you use The Home Remote to replace Imperihome I also started . Getting all devices of my Vera controllers and Fibaro Homecenter in was easy. Also building up Groups and subgroups with all the devices was not that difficult. Now I started to tweak and adapt layoutt, colours and labels. This is more difficult but your examples helped a lot. Thanks for that!!
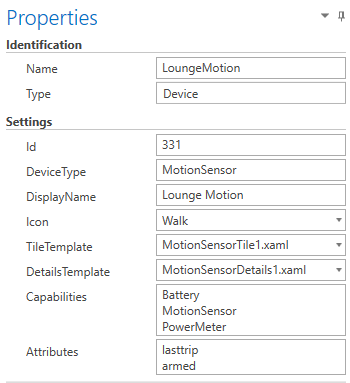
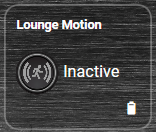
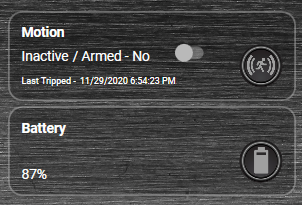
One of the questions I have is about the motion sensors. You added the last trip and changed lay out or the tiles and also the colour (red when the motion sensor is tripped. Dit you just adapt the standerd templates MotionSensorTile.xaml and MotionSensorDetails.xaml or did you copy and saved with a different name. I now have made some adjustments to the standard templates but I wonder what happens when updates are installed ?
I would first create a new folder under the Templates folder in the designer, to keep your modified .xaml files separate from the default template files.
Just right click and copy the two .xaml files from your desktop or where ever and then right click your new folder in the designer and select paste.
How nice, every time I read your new post a world opens up.
Now I play a bit with this too
Can you explain to me how to create a “Yes or No” confirmation? eg. to avoid unintentionally touching a Scene such as “Open the Doors”
@cw-kid I’m making quite some progress in tweaking this app (use my own icons, adapt layout and colours) and add all my devices (I have alot!). It is time consuming but really a great app with lots of opportunities.
Two questions: can the format of lasttripped be changed, I don’t need the seconds and the year. If it is shorter I can use bigger fonts and it still fits on the tile.
Second: all the tiles (devices) in a group are now centered vertical. I want to change this in top.
I don’t know how to do this as the device binding for the label is just @Device.lasttrip.
There was a digital clock tile I created from this example here and there was a “Format” field you could change and play about with, however I cannot see how to do that for the last tripped label.
Time = HH:mm:ss tt
Date = dd/MM/yyyy
Again I am not aware of anyway to control this, it seems to just do its own thing and place the tiles on to the group pages.
Thanks for your reply. @bill_v can you help? I can also post these questions on the home remote forum but on the other hand I’m sure this app is a perfect (and even better) than Imperihome that many Vera users here use