@Pabla
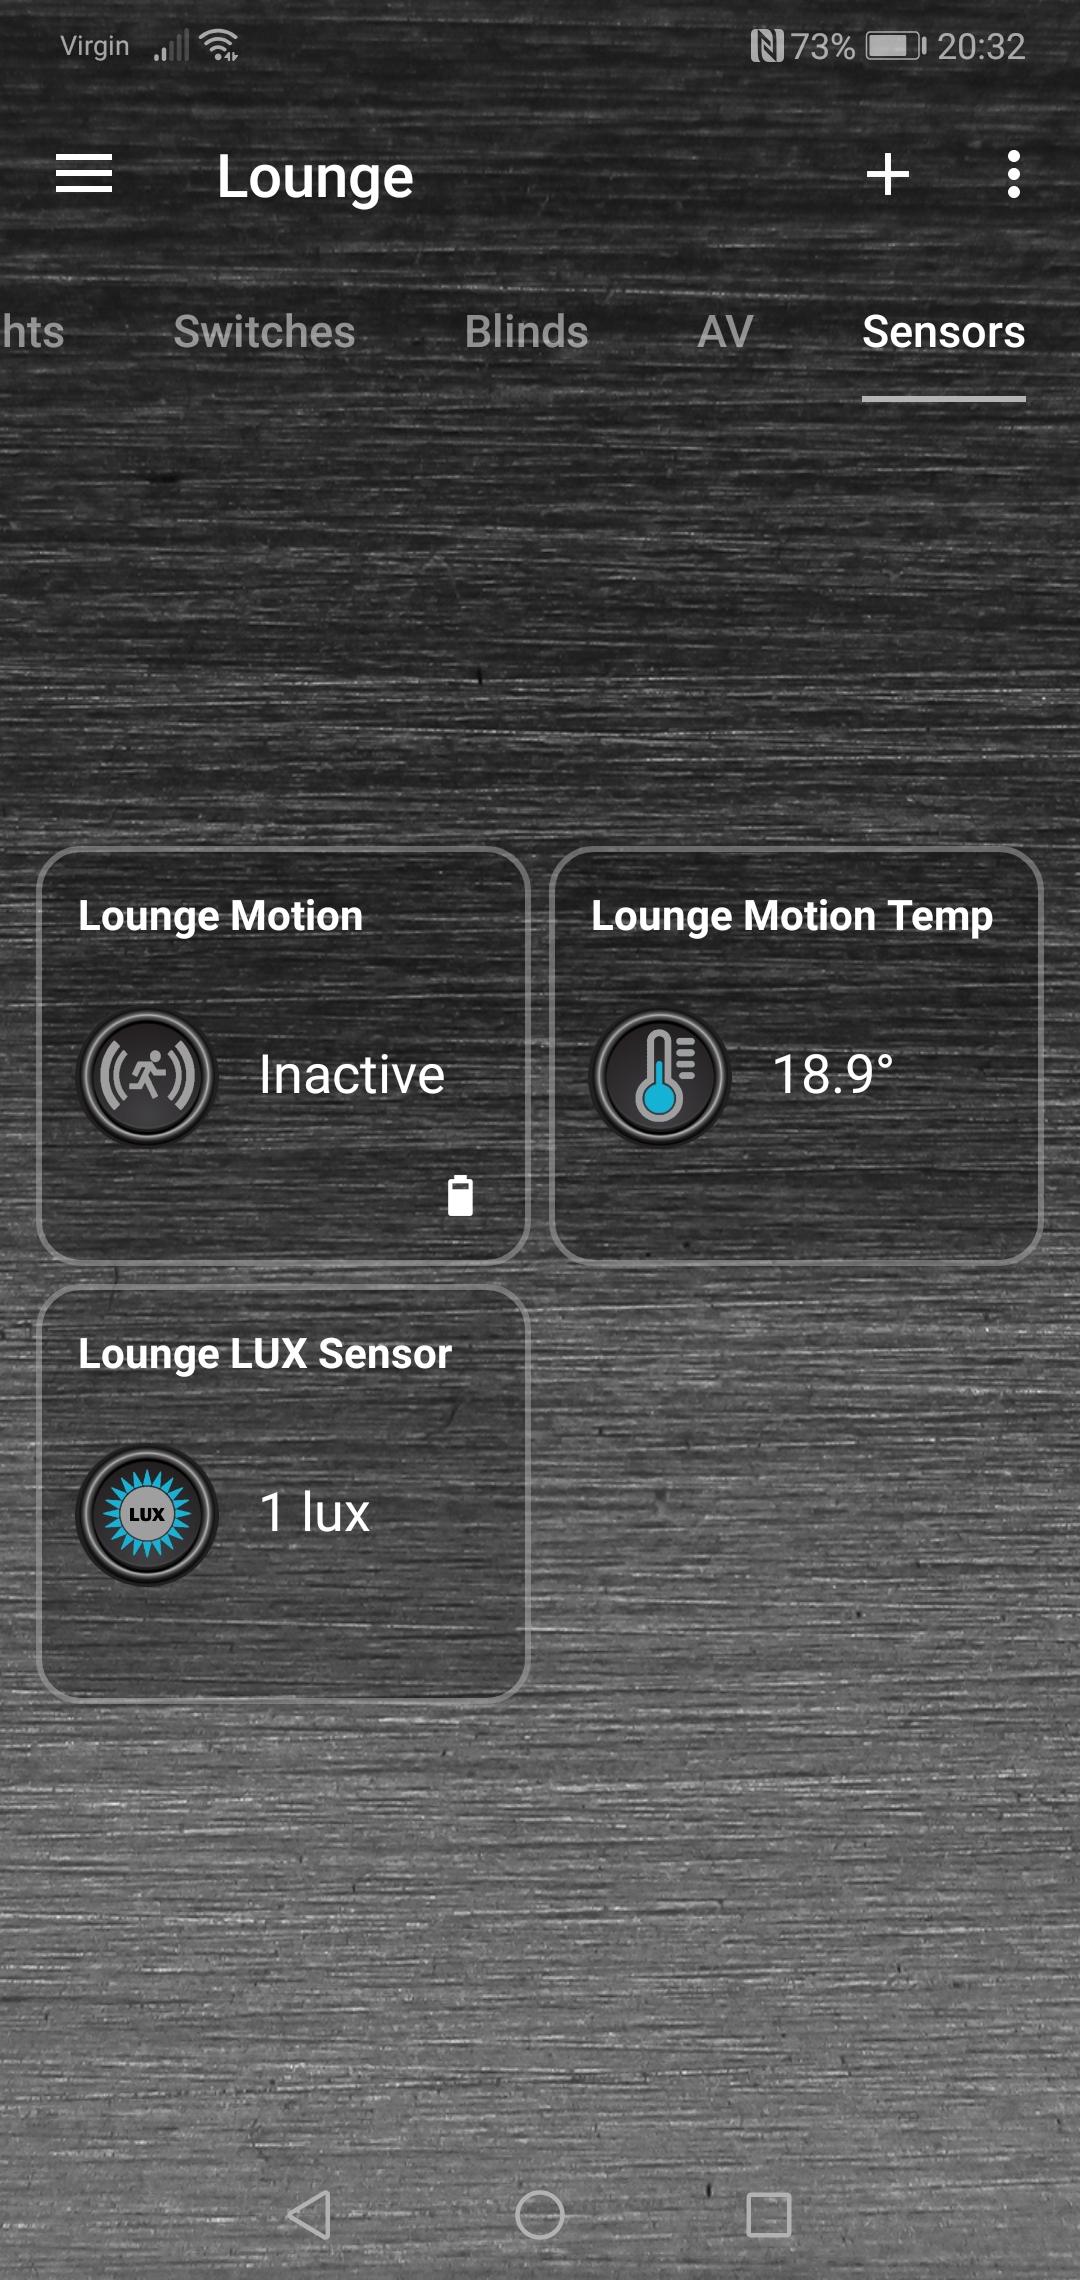
OK so you can only add “devices” to a sub group as you have discovered.
So you need to add a Plugin device and a custom tile template file.
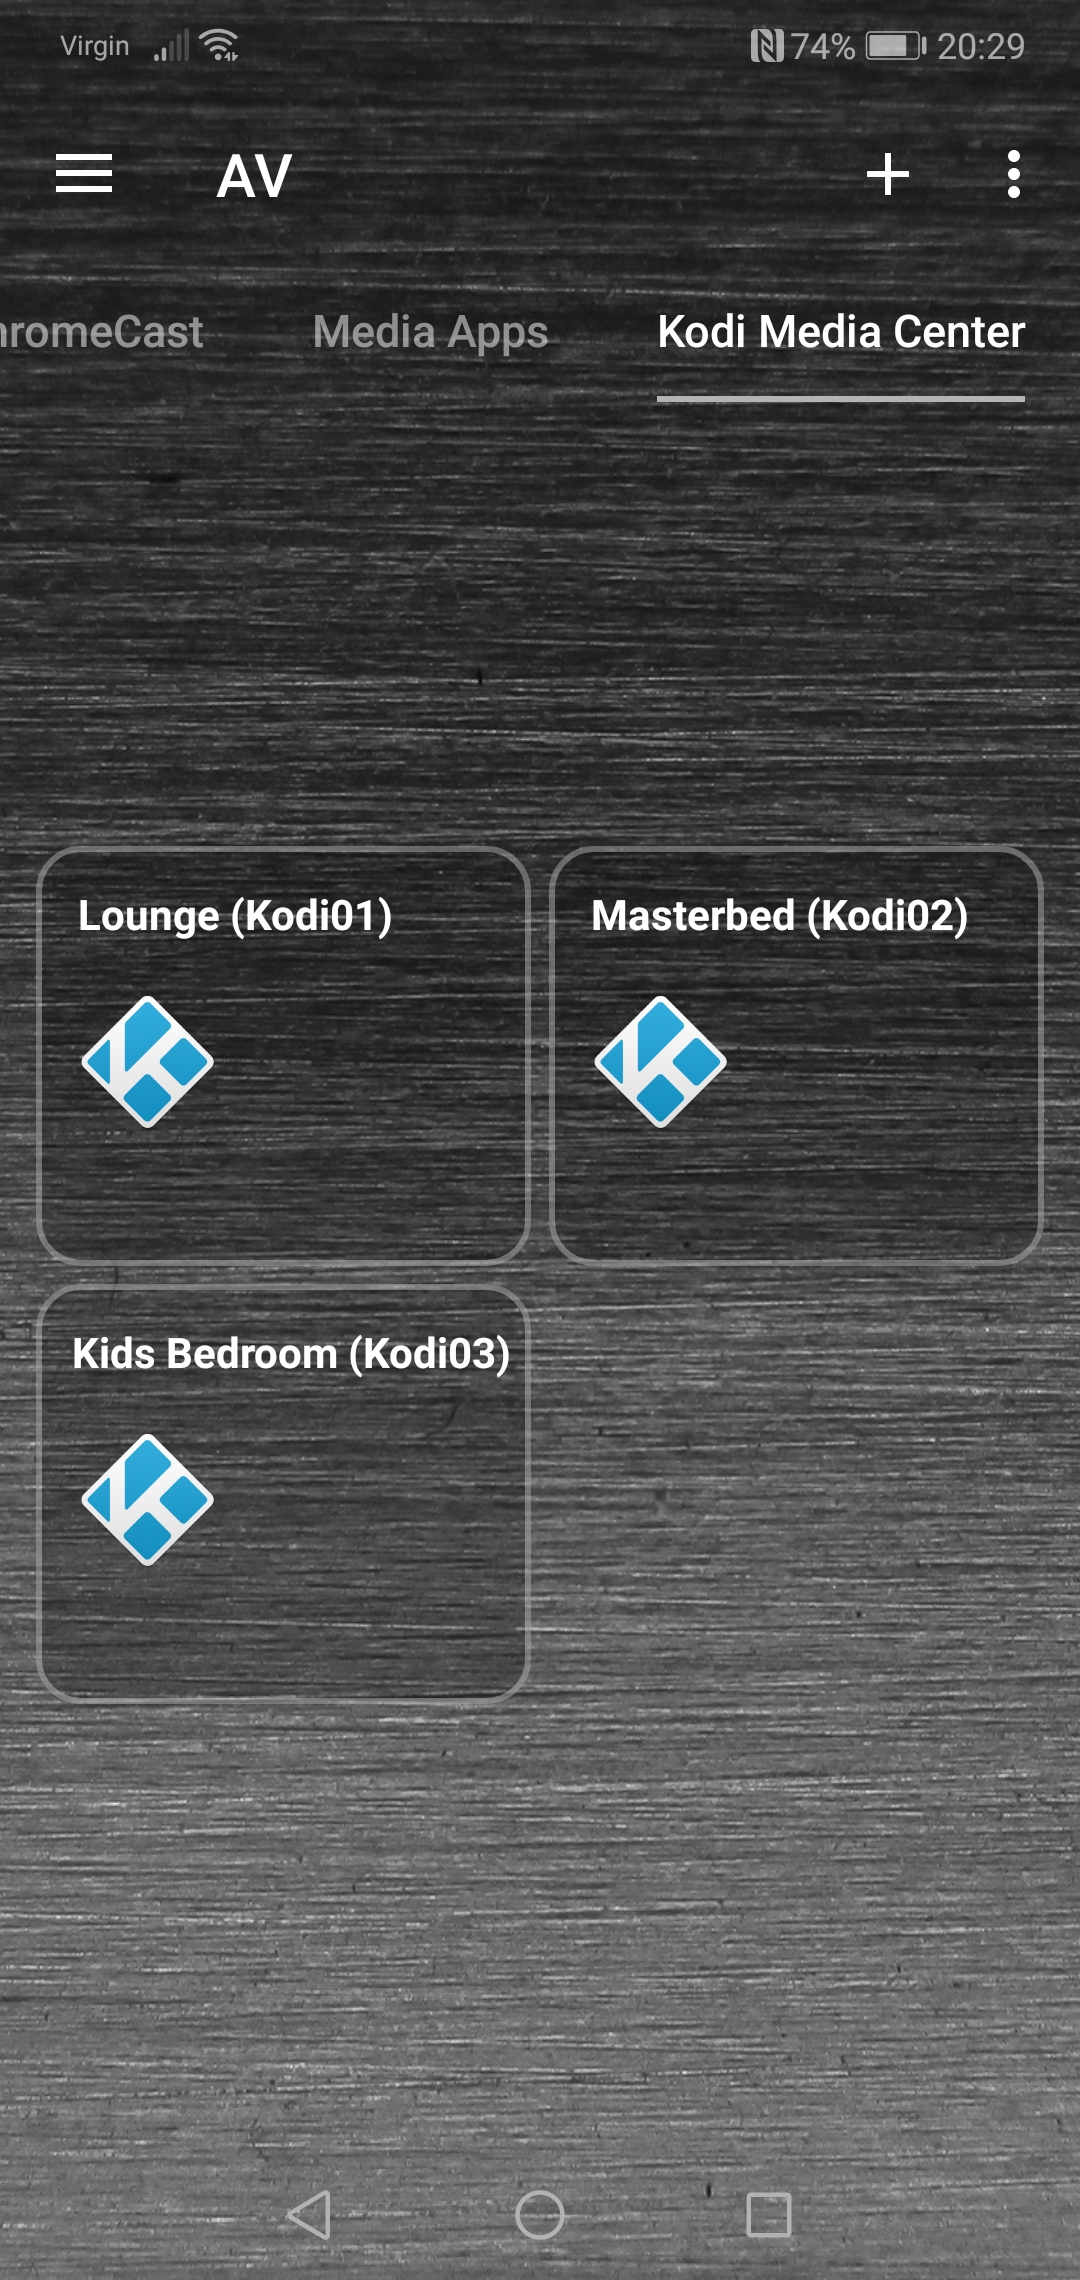
So for my Kodi HTPCs I added 3x plugin devices and 3x custom tile template files.
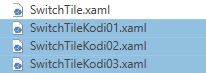
- Start by looking in the Templates folder in the designer and I used the “SwitchTile.xaml” template file, I copied and pasted it 3 times and renamed my copies.
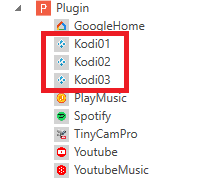
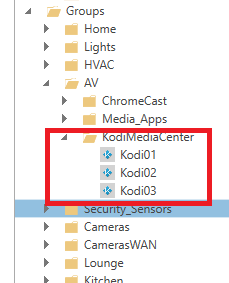
- Then under devices at the top I added a Plugin device and under that I added 3x devices for Kodi01, Kodi02, Kodi03 etc
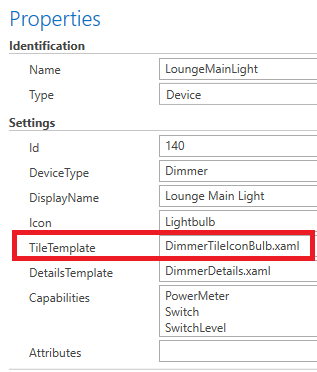
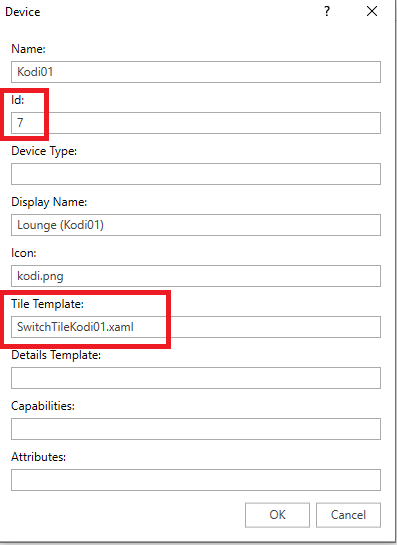
I then edited each of these plugin devices and pointed them to their tile template I created earlier.
Also make sure you give each an ID number such as 1 , 2 & 3 etc. Any number is fine.
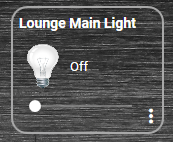
Kodi01:
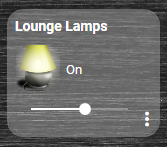
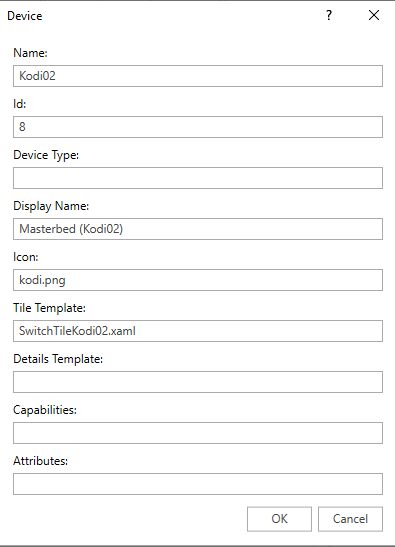
Kodi02:
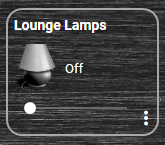
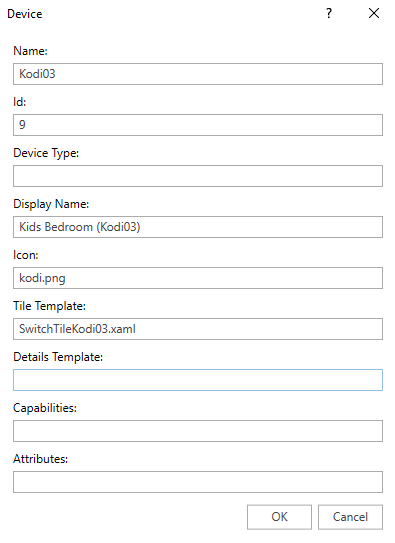
Kodi03:
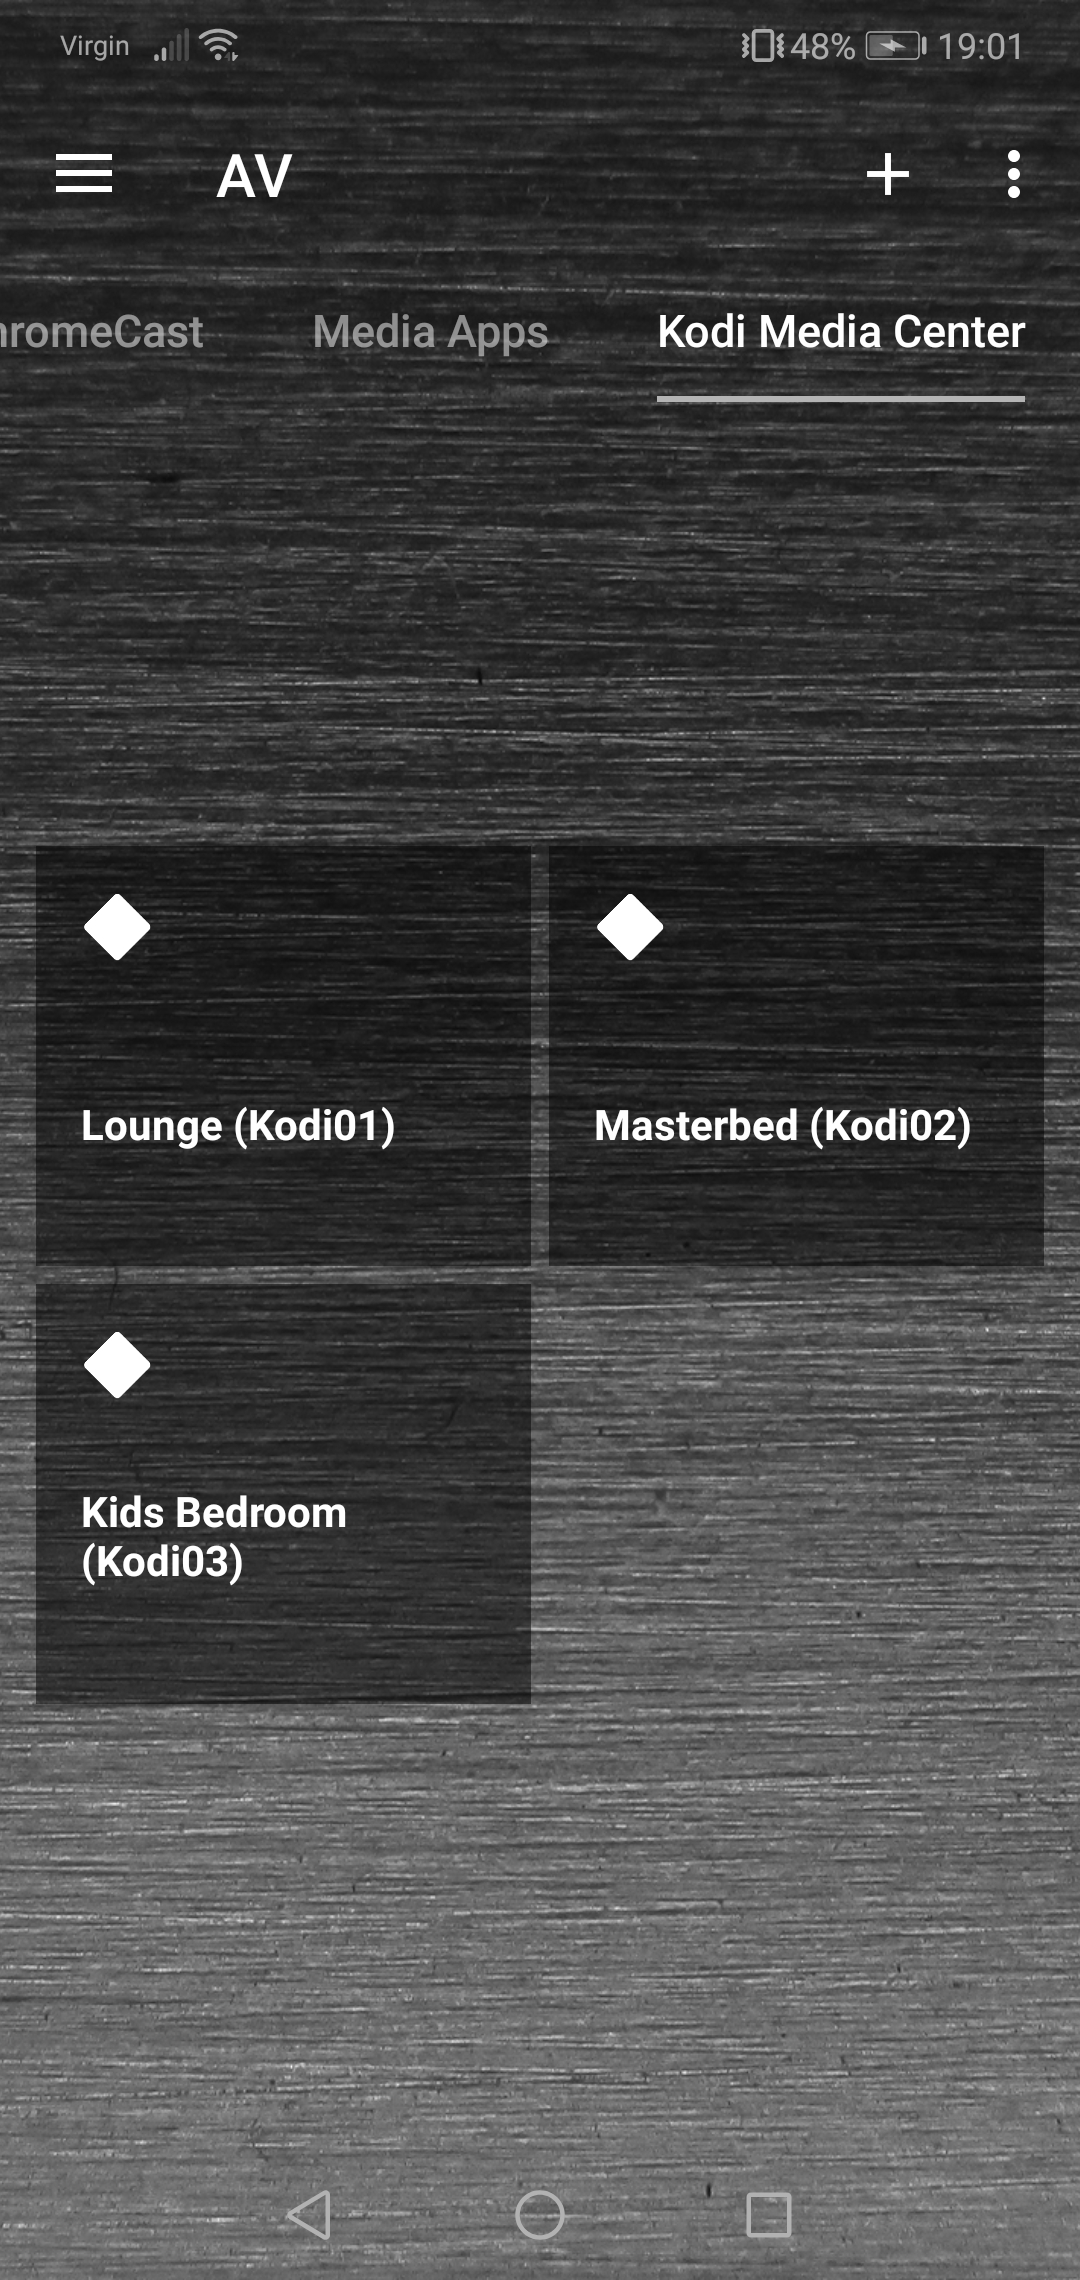
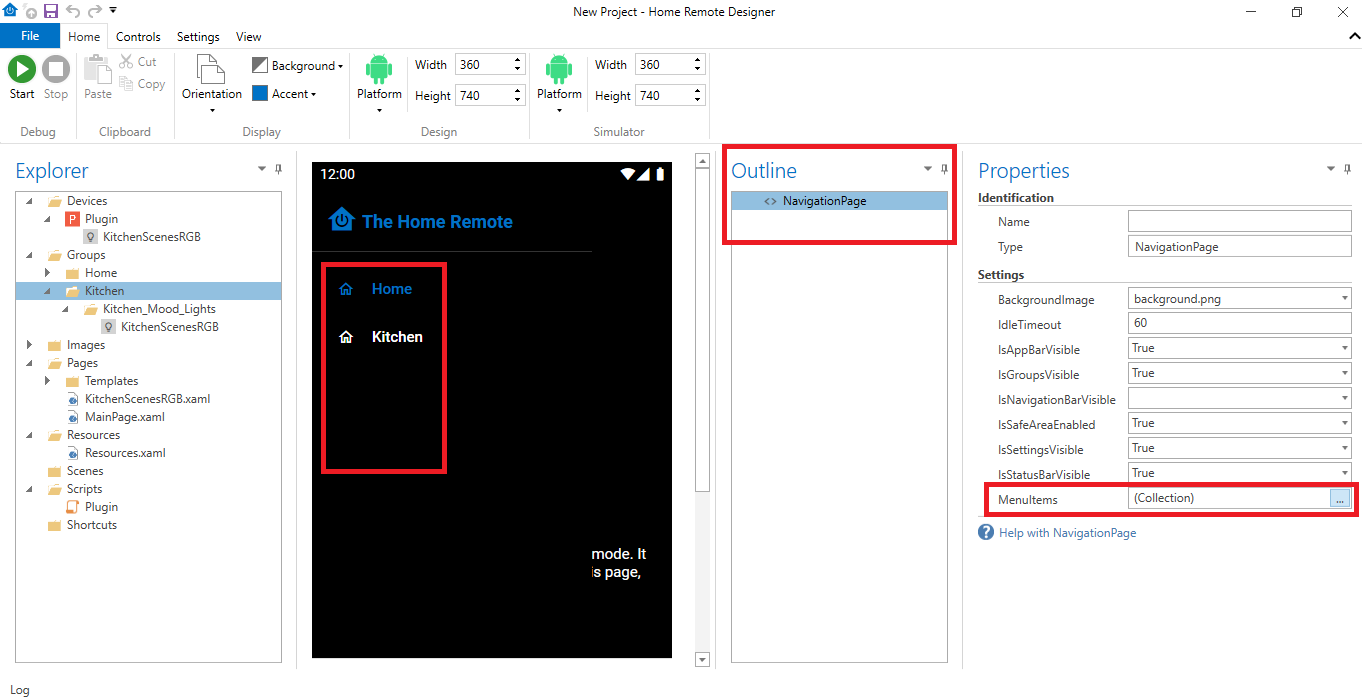
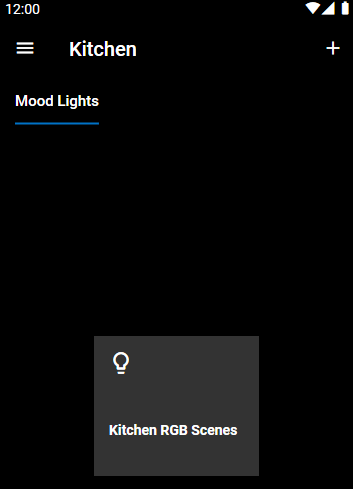
- Then in your sub group folder you can add these plugin “devices” in to it.
- OK last step you need to assign where in the app the “device” tile will go to when you click on it ?
To do this go back to the SwitchTile(your-name).xaml files you created in step 1.
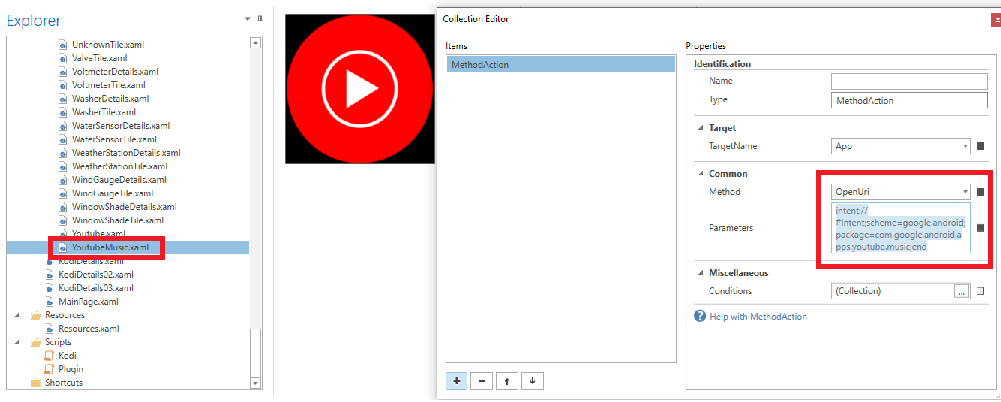
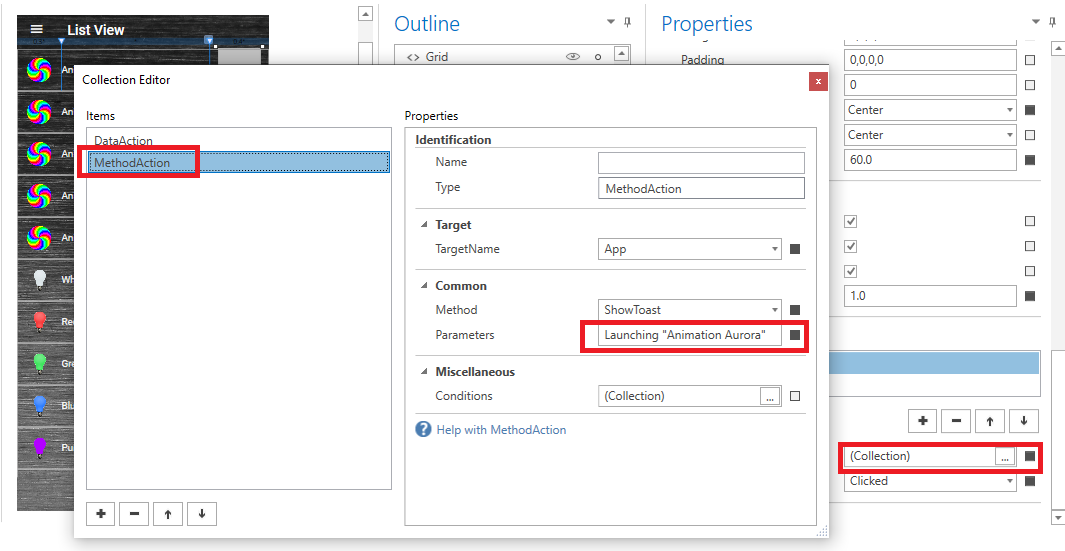
Double click the first custom tile template file and then click the Actions button bottom right
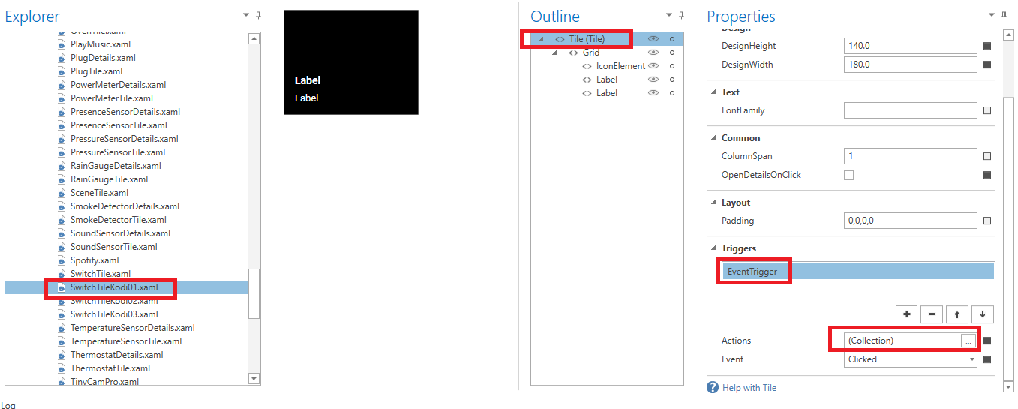
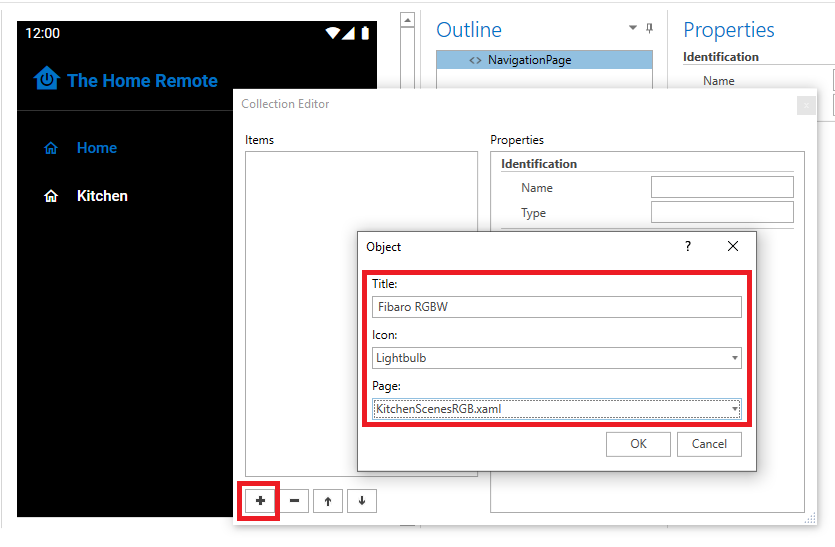
You will then see a dialogue like this:
If there is anything already there in the “Items” area, just click the minus button to remove it.
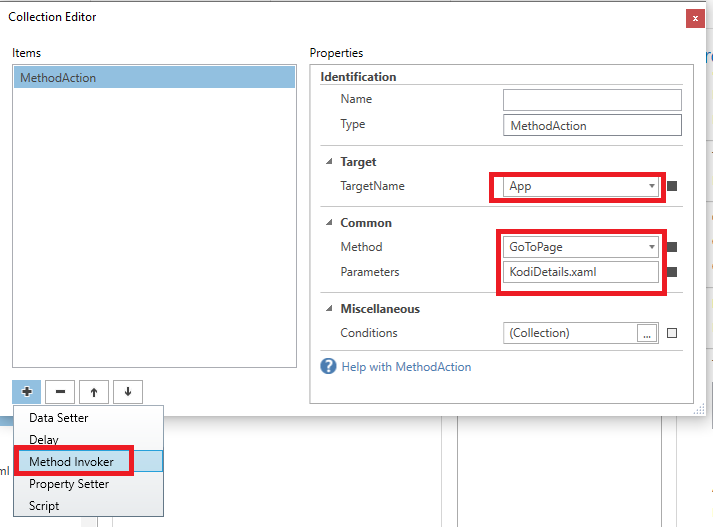
Then click the plus button and select “Method Invoker”
Now select “App” for “TargetName”
Now select “GoToPage” for “Method”
Now I think you have two choices here. You can either put in an actual page name, like I have “KodiDetails.xaml” this is my remote control page for this HTPC. So this would be a page you have created yourself.
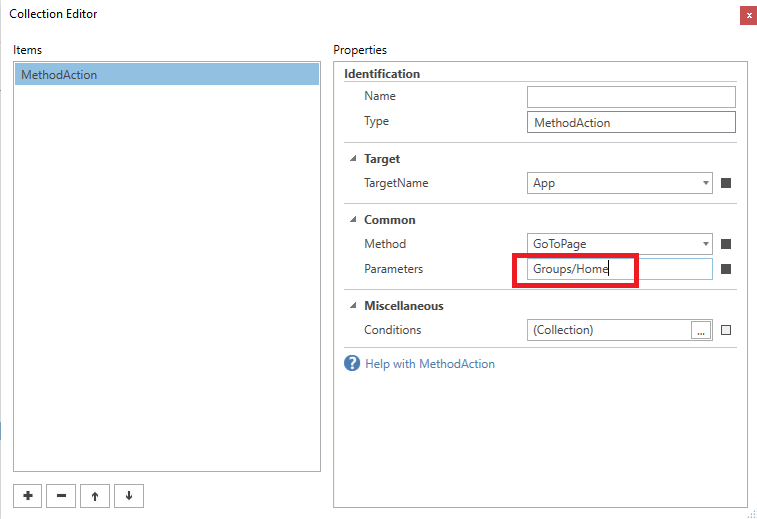
Or if you want it to go to another area of the app that you have created using Groups you can use something like this in the “Parameters” field.
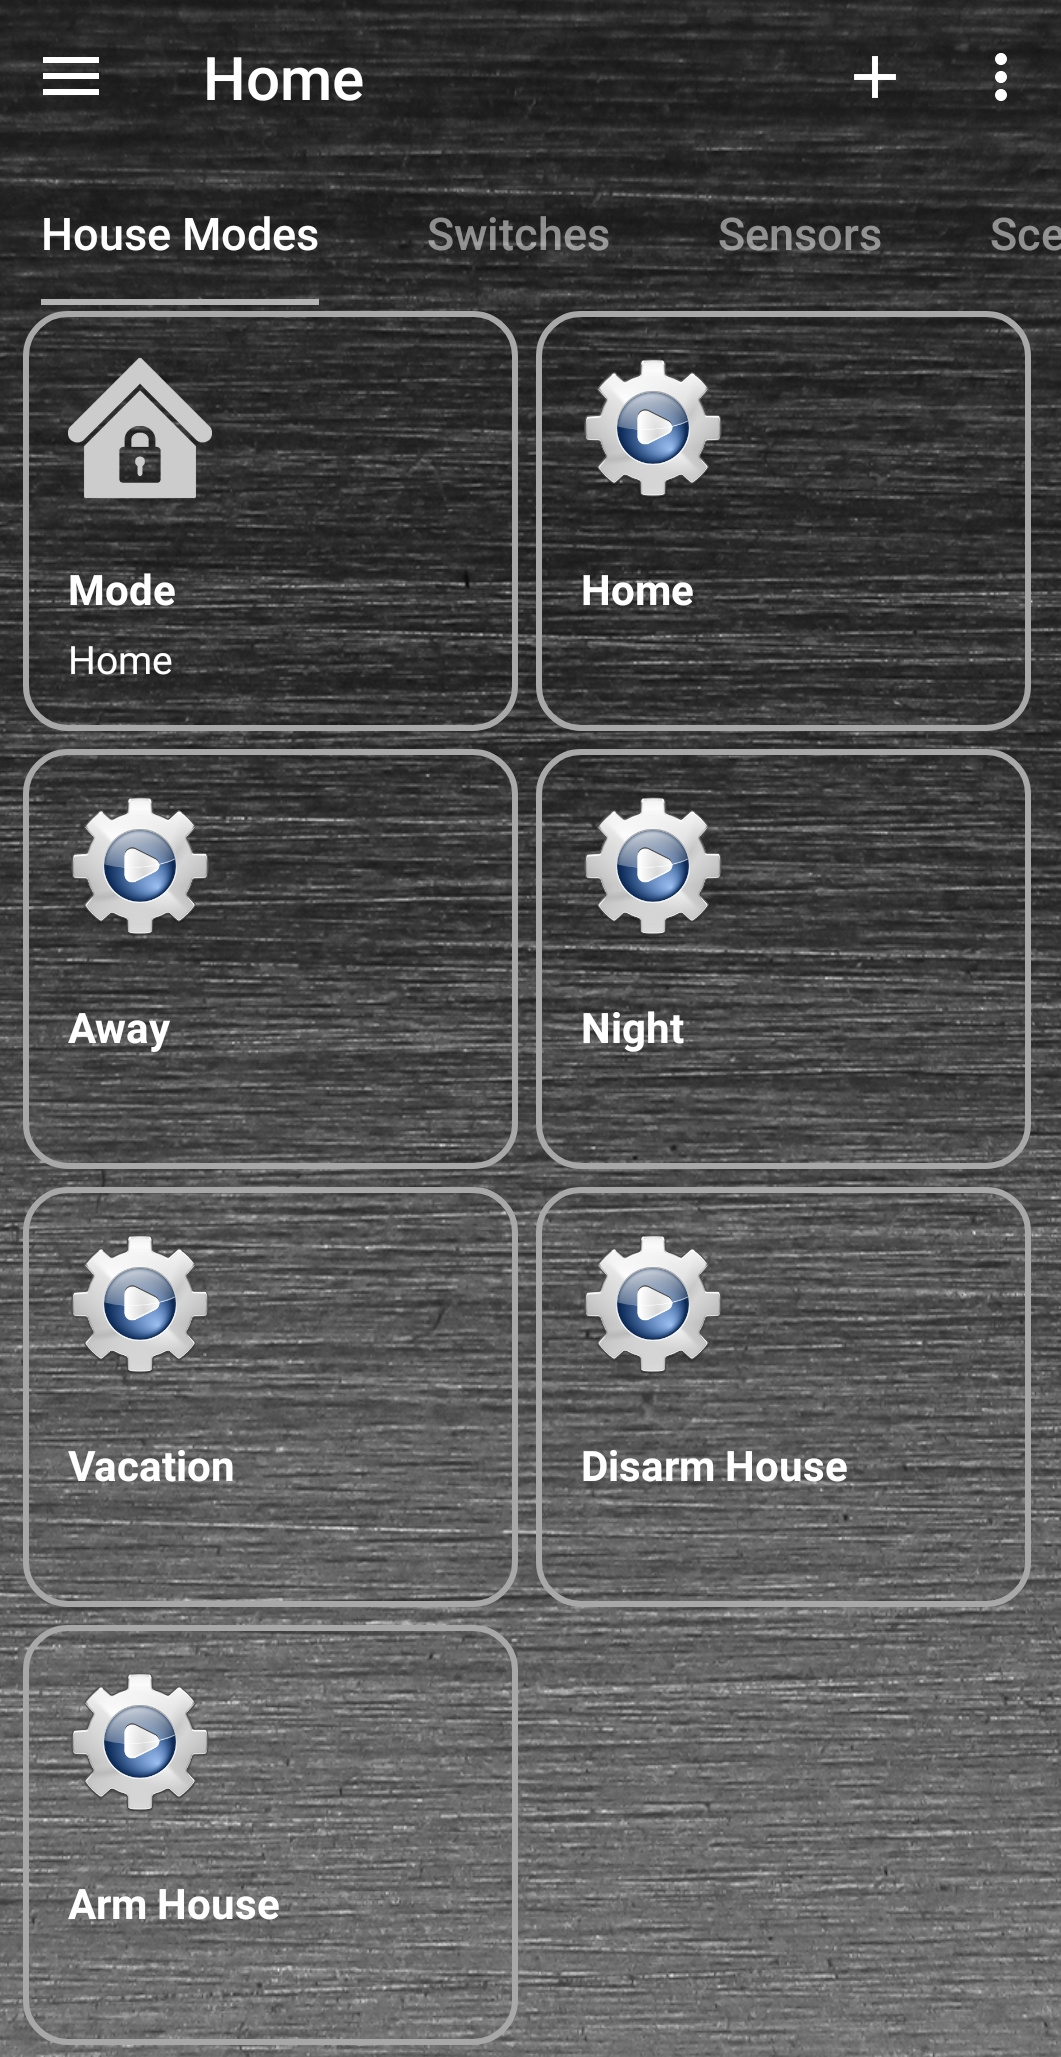
Groups/Home
That would take you to the “Home” Group when this particular tile is clicked.
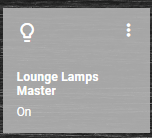
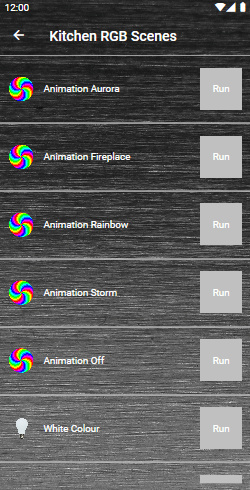
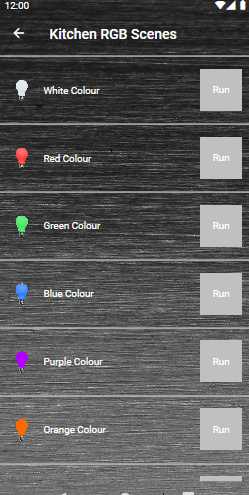
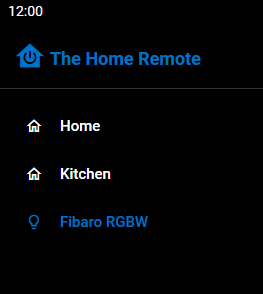
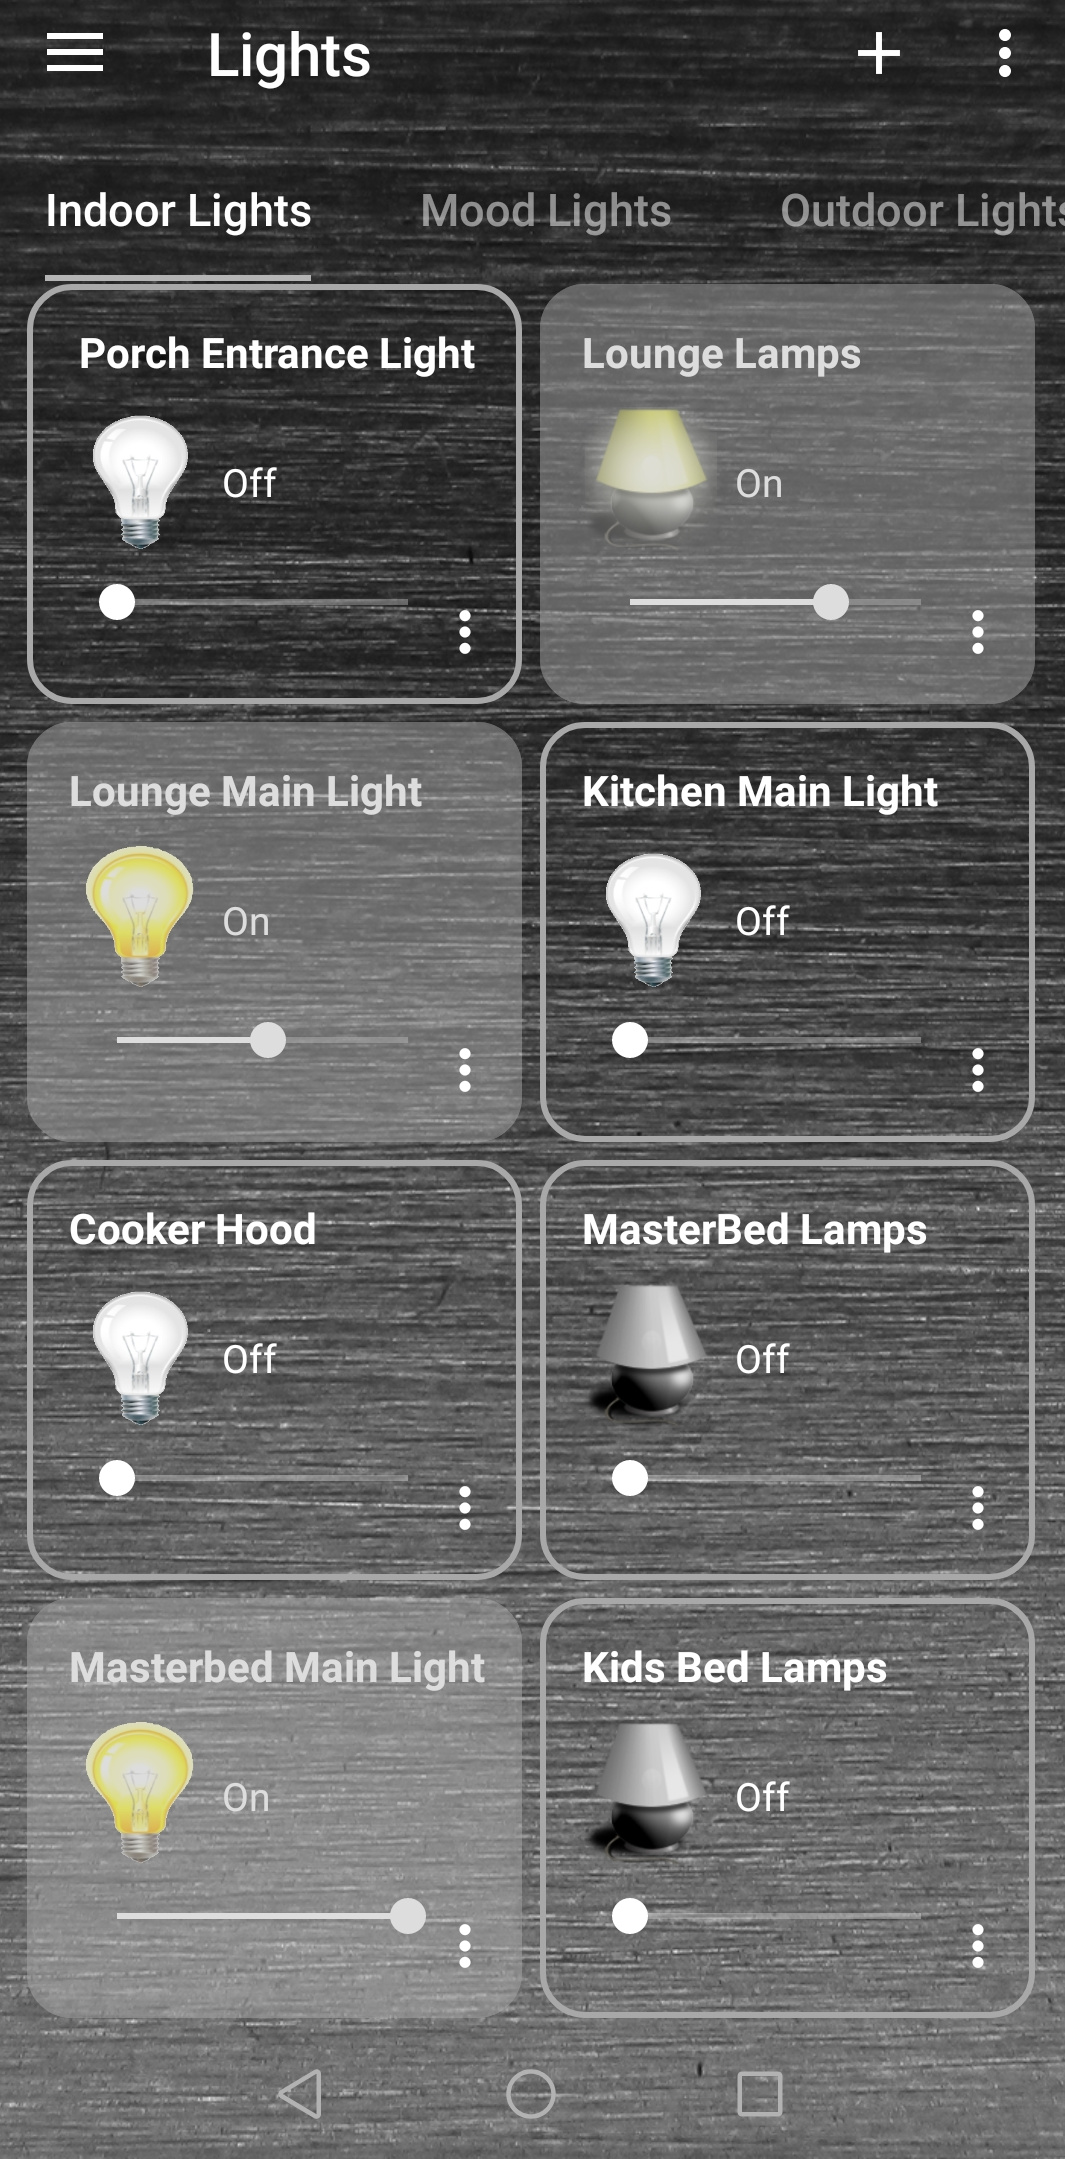
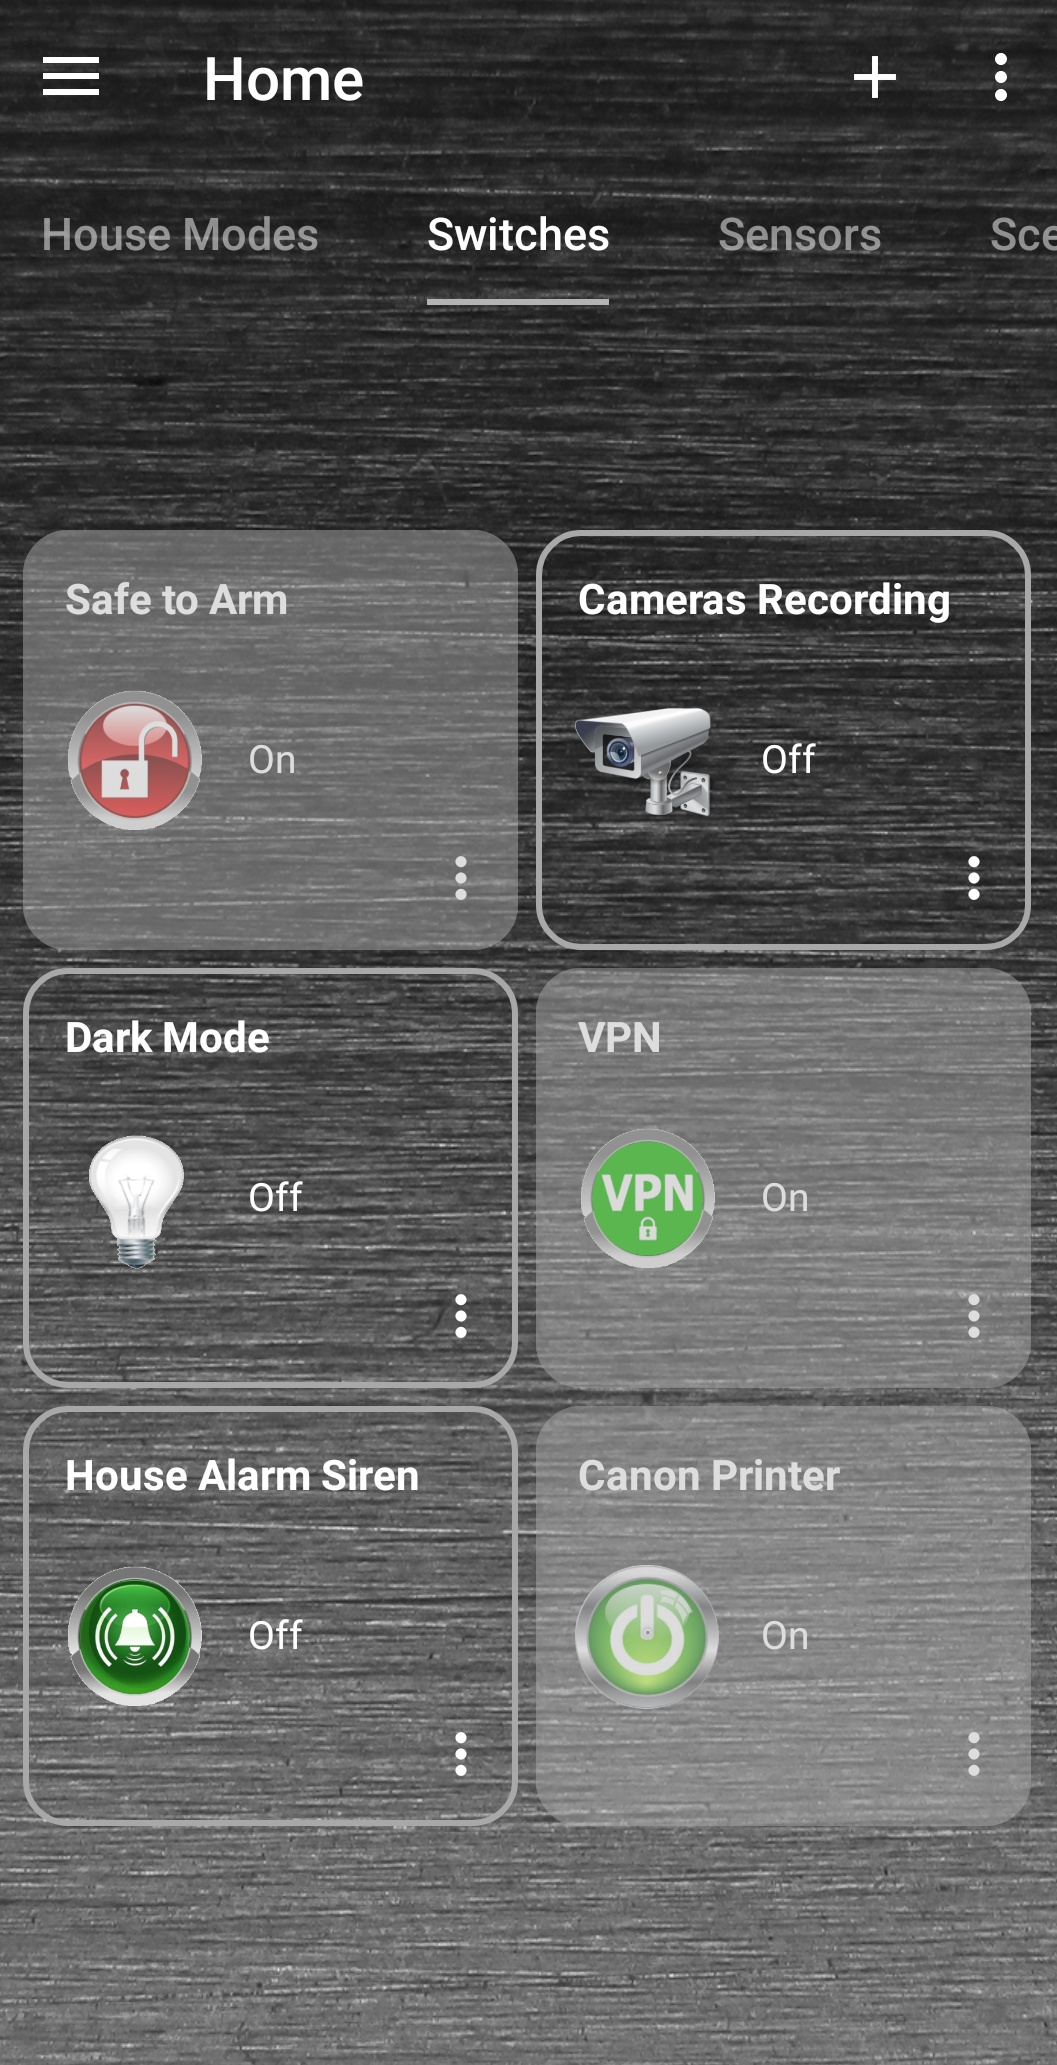
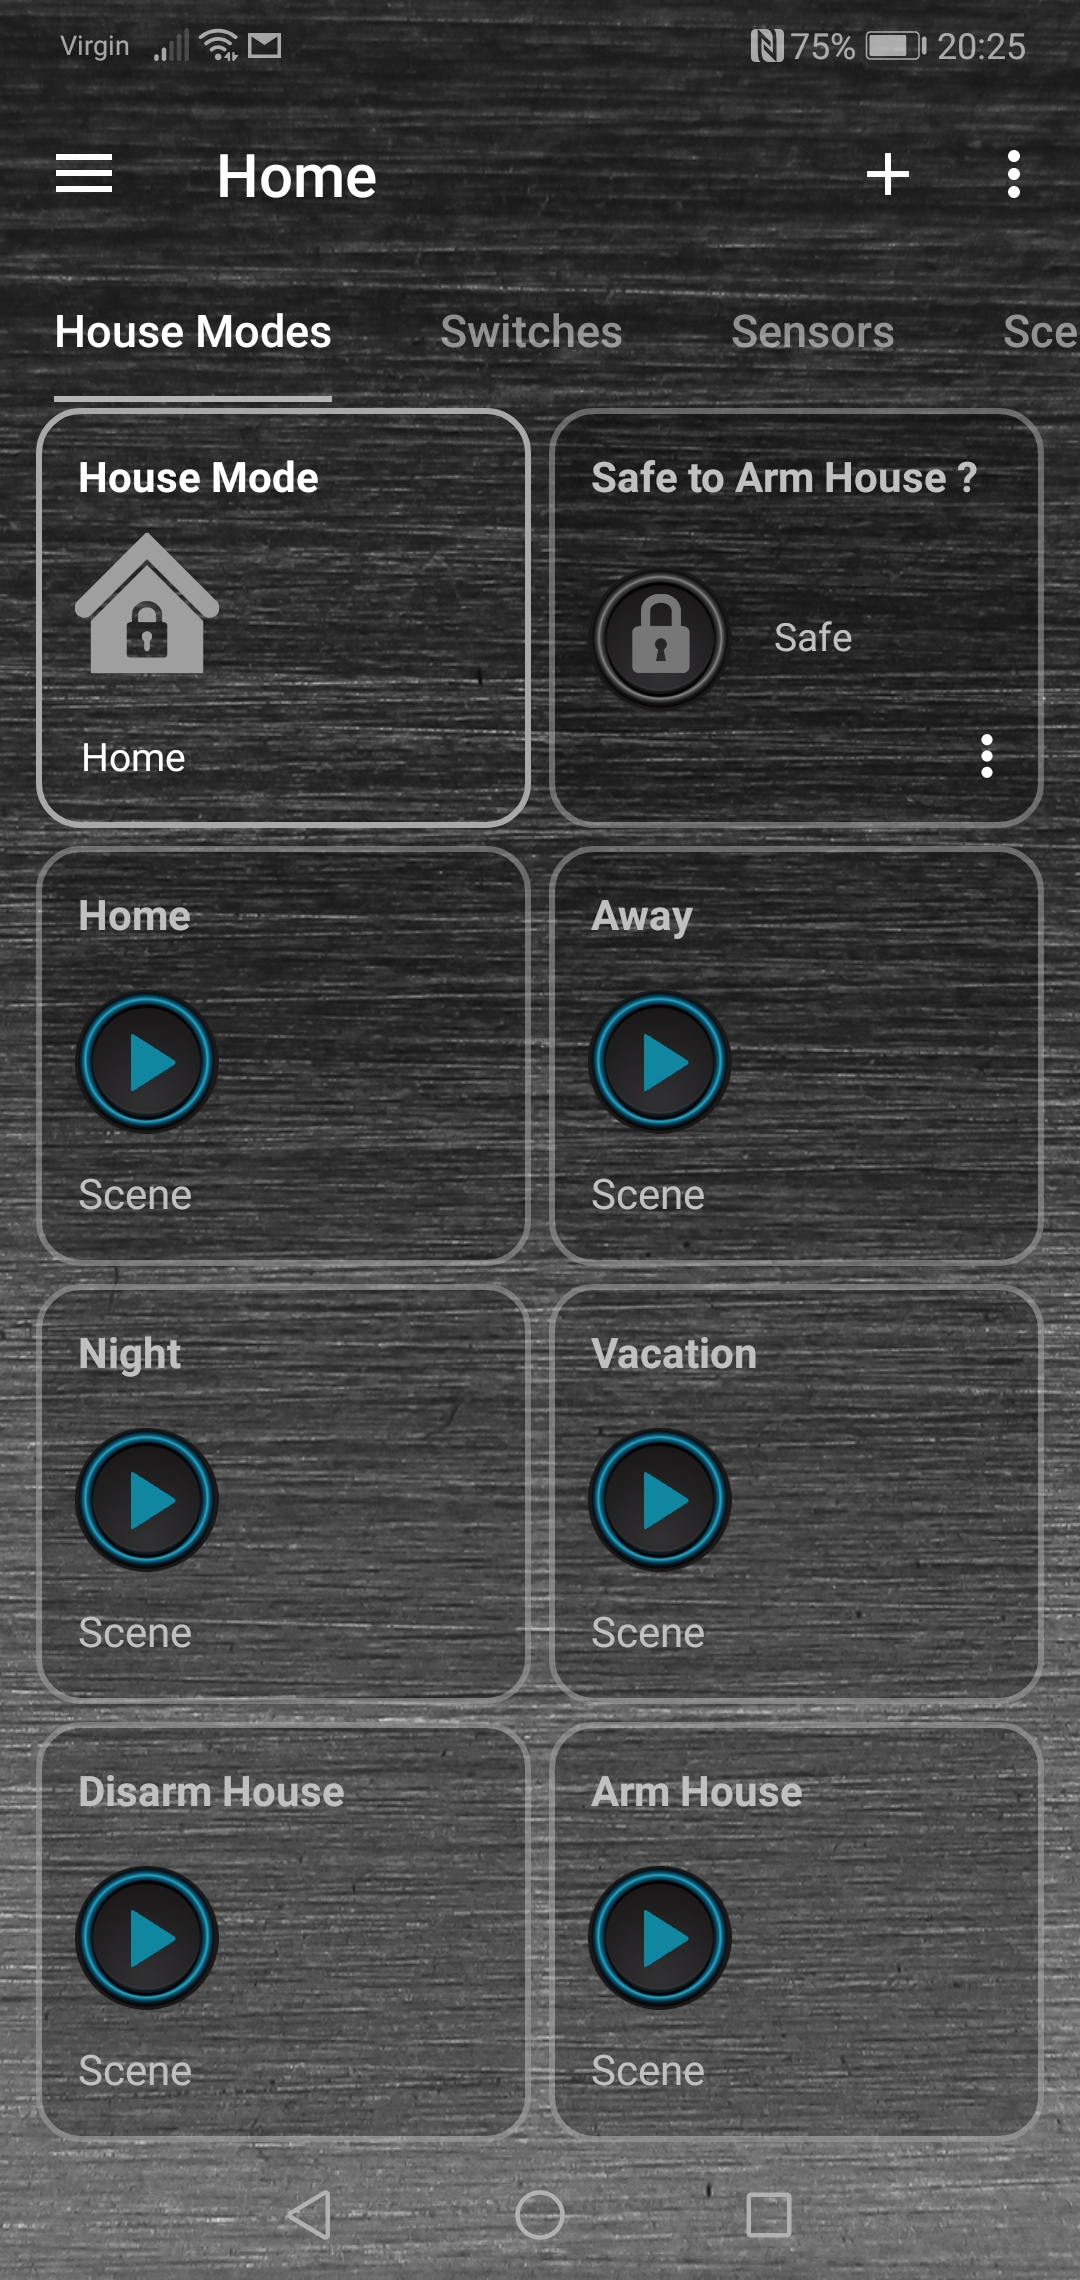
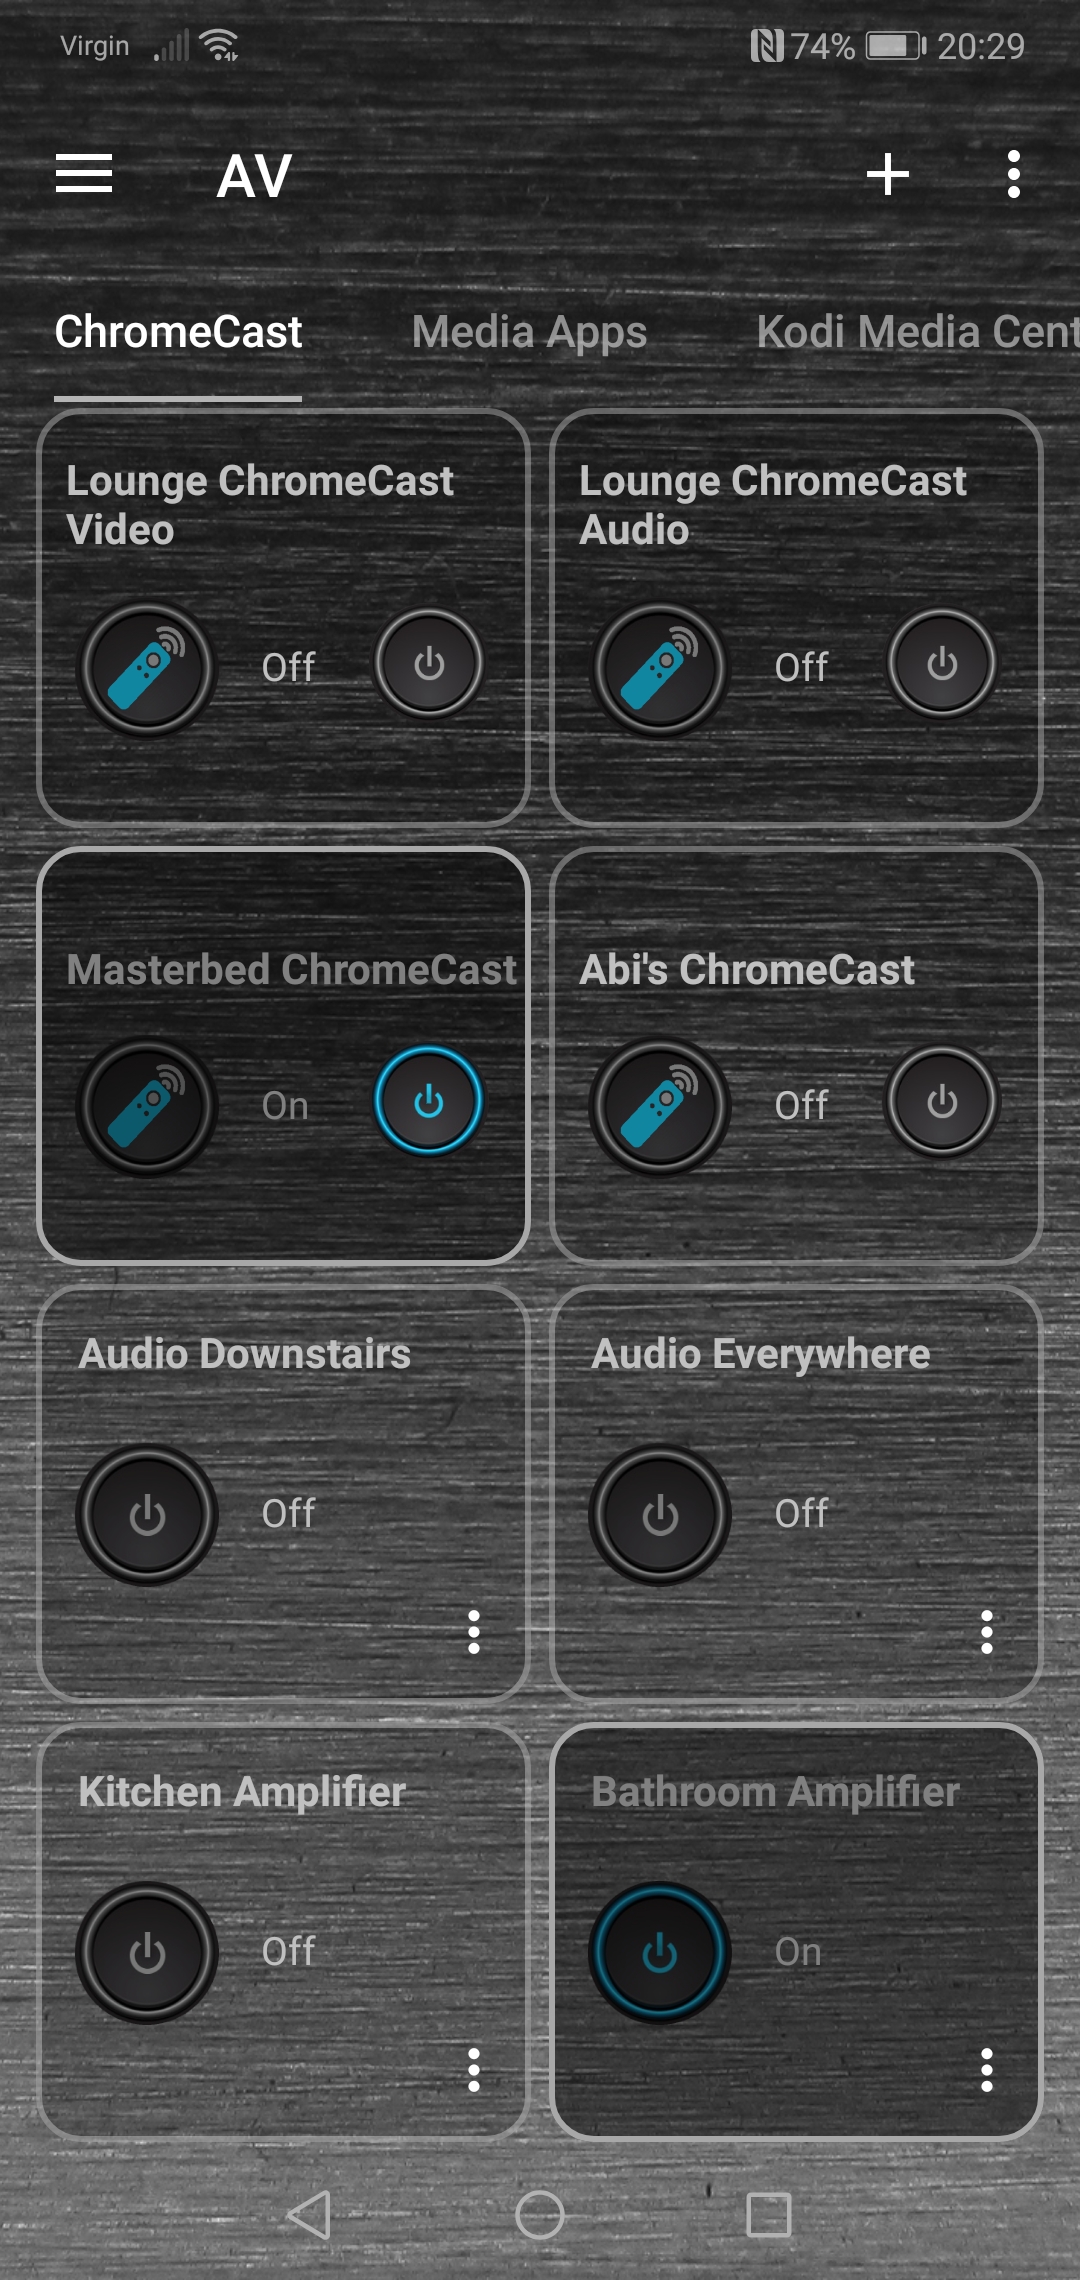
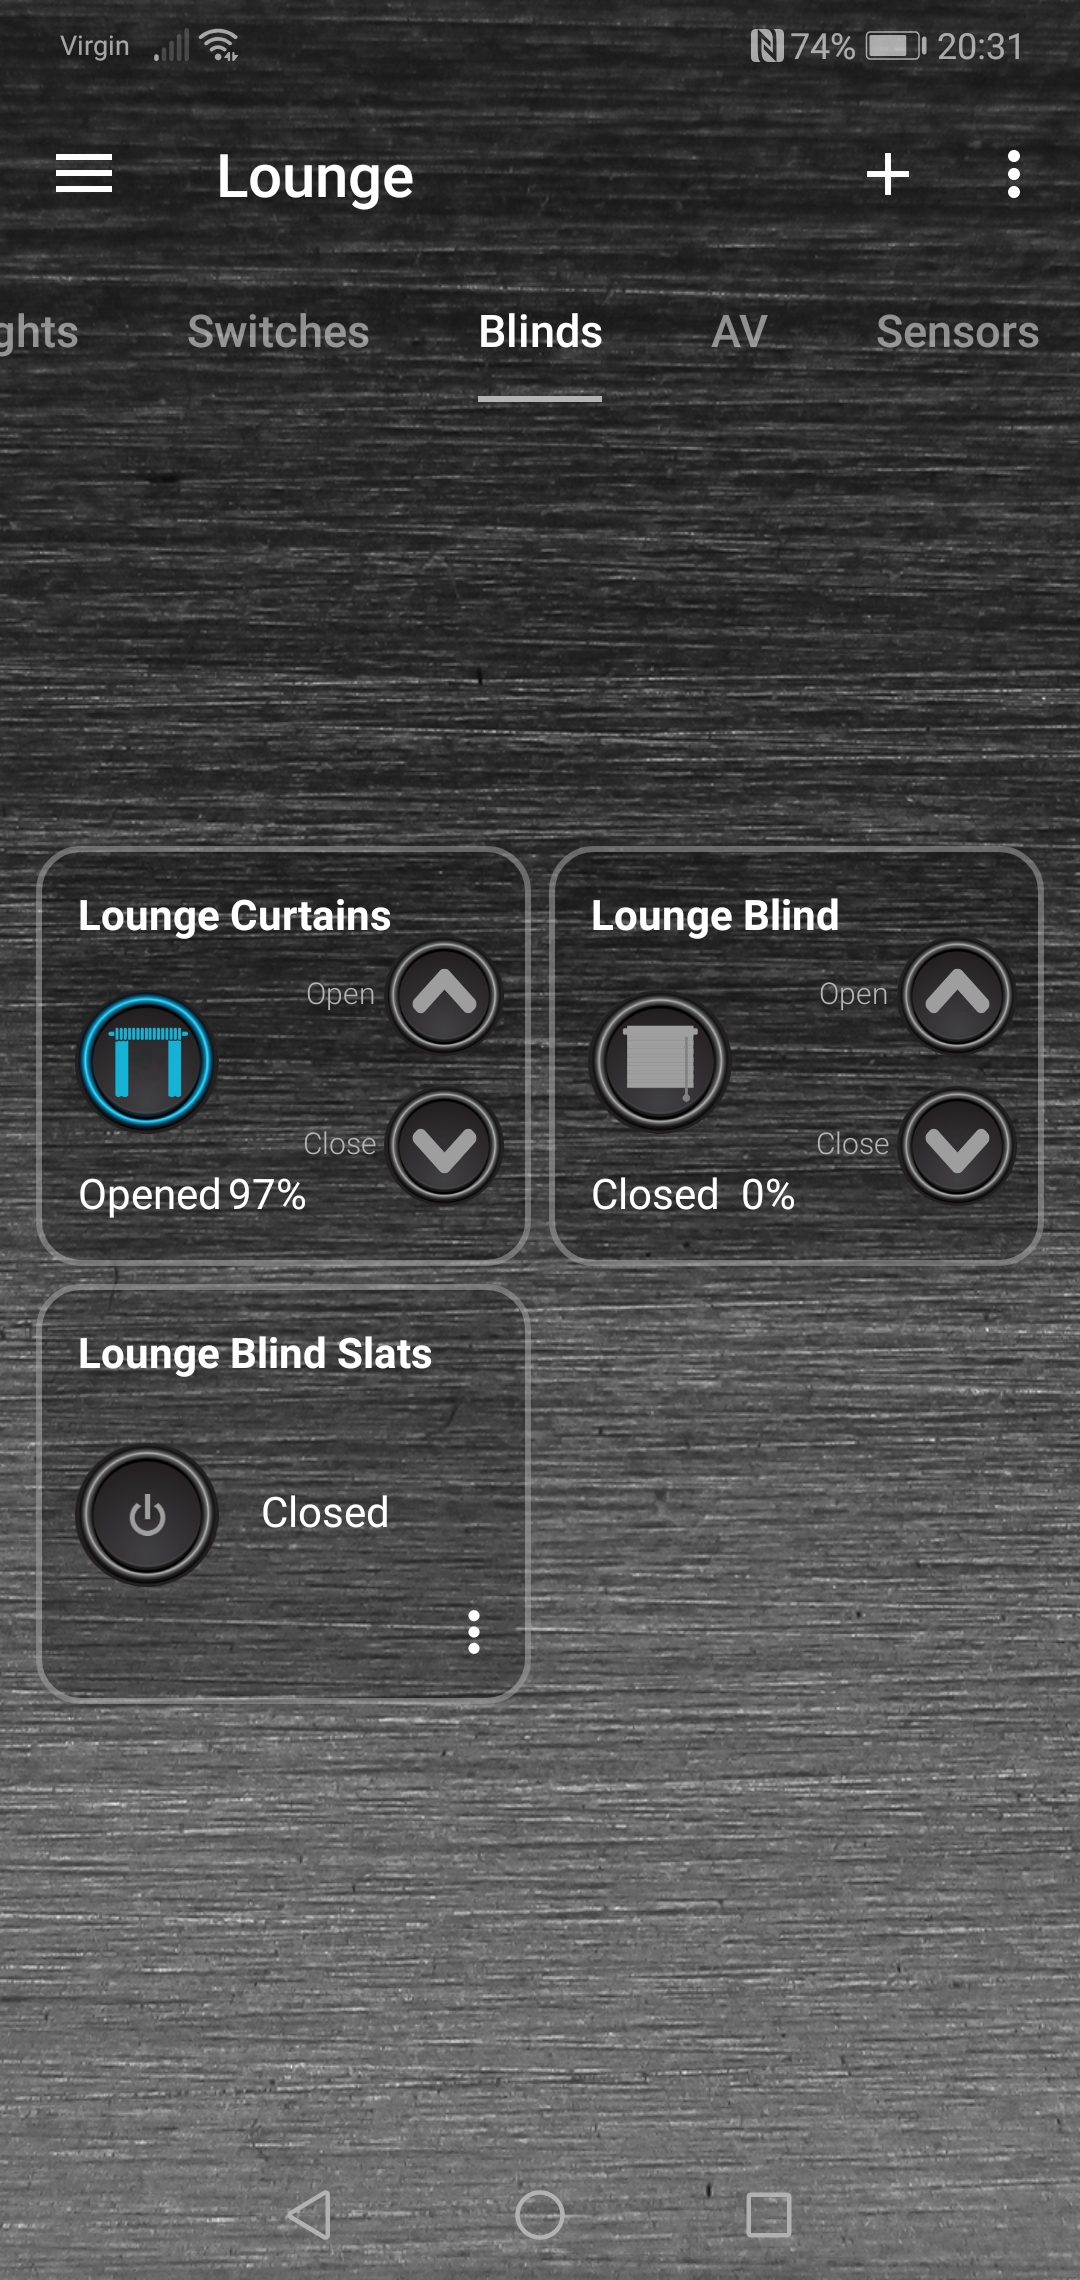
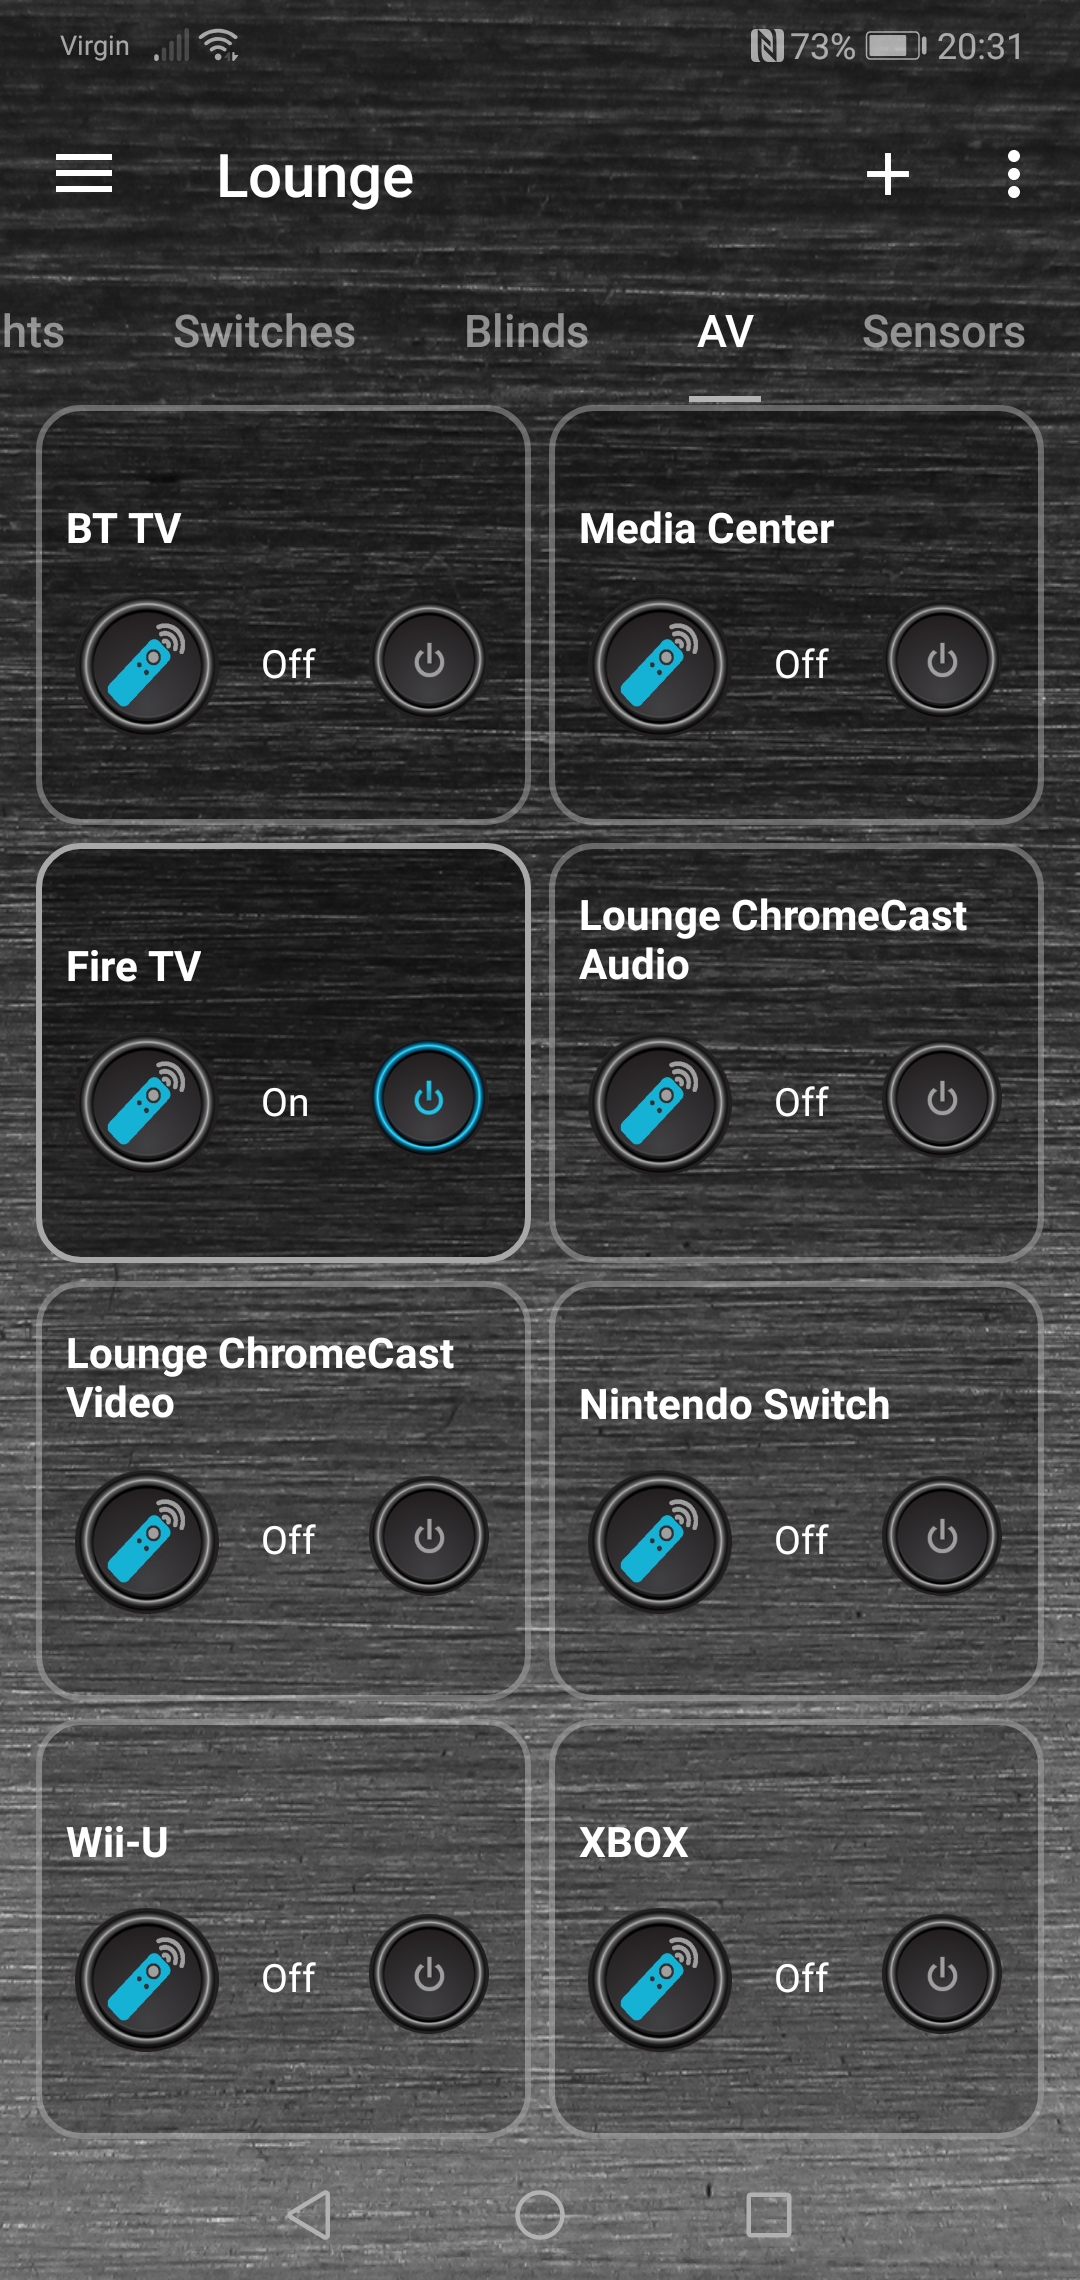
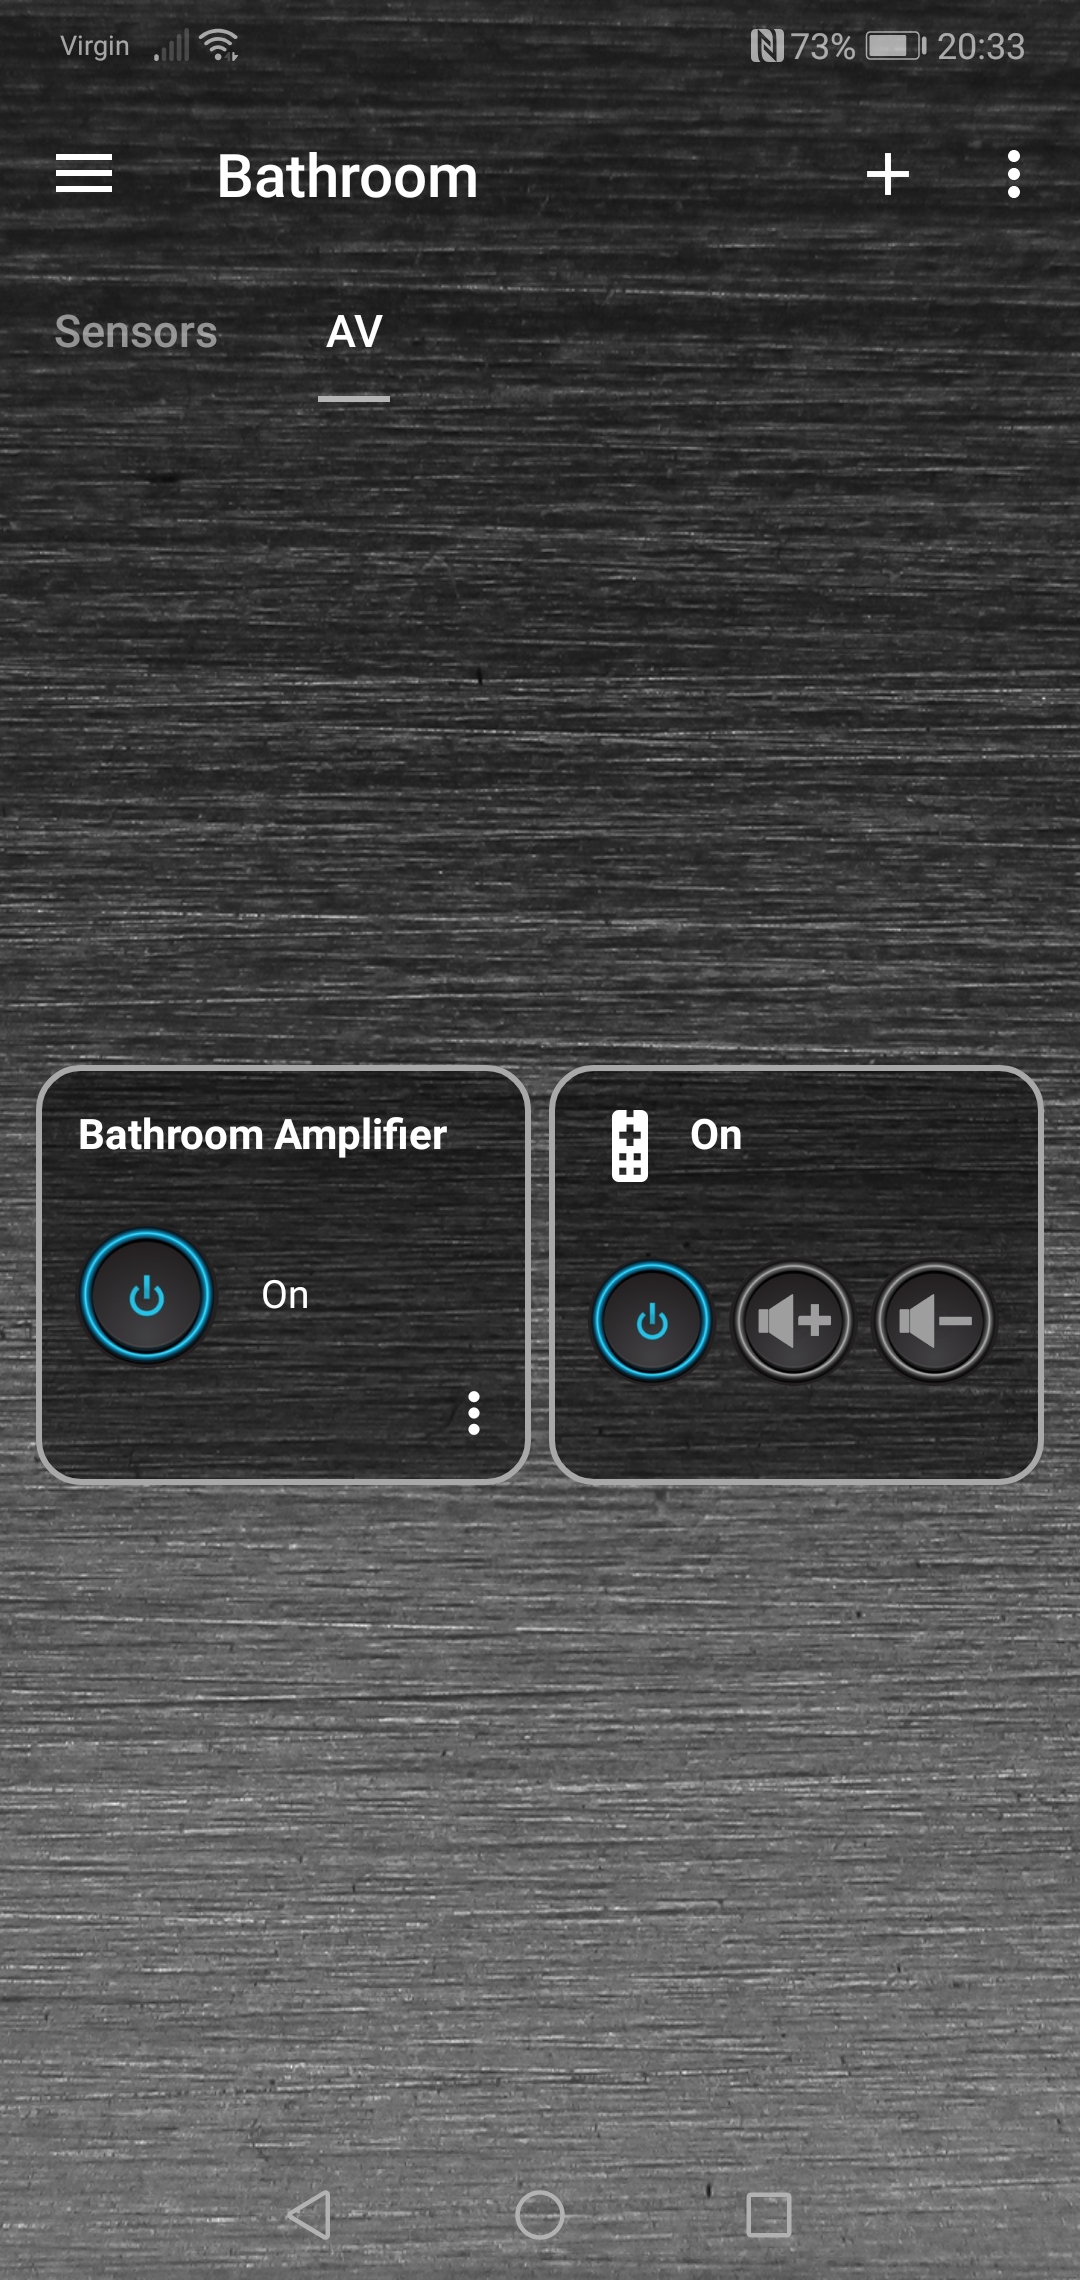
So from your screen shot you posted earlier, for example you could go to areas like these:
Groups/Backyard
Groups/Bar
Groups/Sonos
It needs to be the actual Group folder name you put in, not the friendly display name.
Example GoToPage - Go to an actual page .xaml file.
Example GoToPage - Go to a Group
Told you it wasn’t easy or logical !