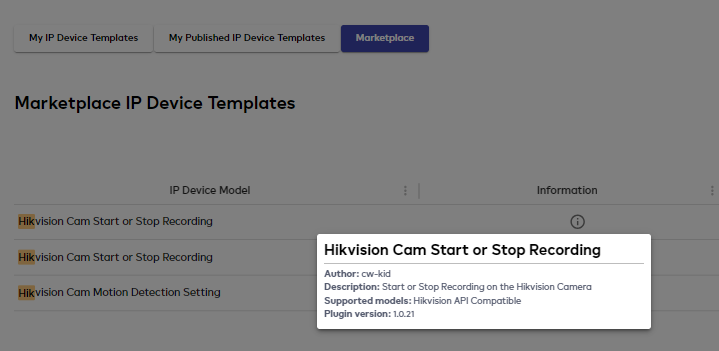
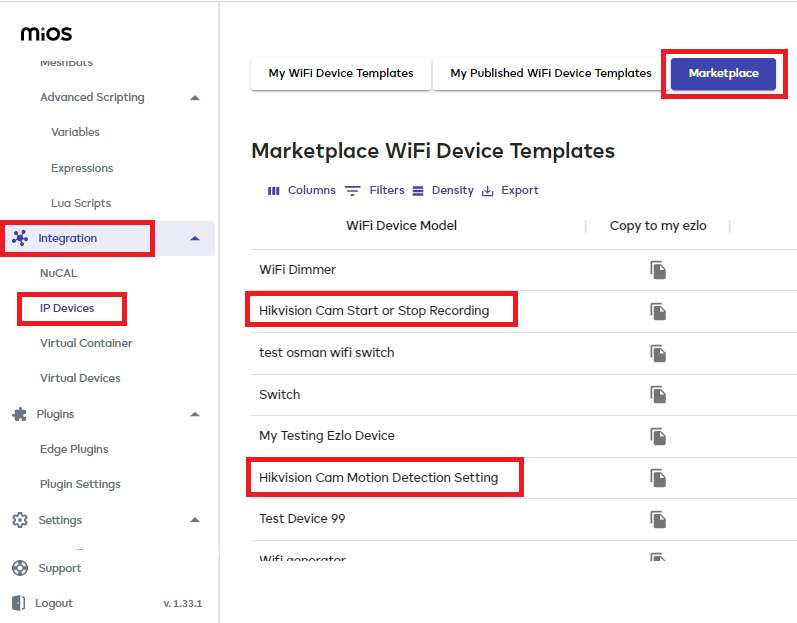
With the Ezlo IP Device Generator plugin (formally called WIFI Device Generator) it is possible for users to create device templates and share them with other users, by publishing their templates to the Marketplace.
I was playing around with this today and I have published two templates for controlling somethings on Hikvision IP cameras.
- Start or Stop Manual Recording on the camera, using this template you can create a virtual ON / OFF switch device into your Ezlo dashboard / Vera mobile app.
Turning ON the virtual switch will start manual recording, turning OFF the virtual switch will stop manual recording on the camera.
You could then use this virtual switch in your Meshbot rules Actions, for example a true action could be to turn on the virtual switch to start recording when an armed sensor is tripped and the false action could be to turn off the virtual switch to stop the camera recording etc.
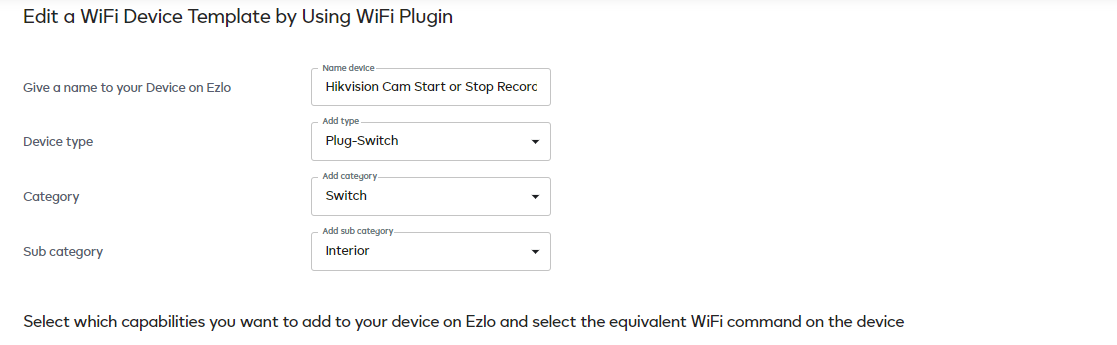
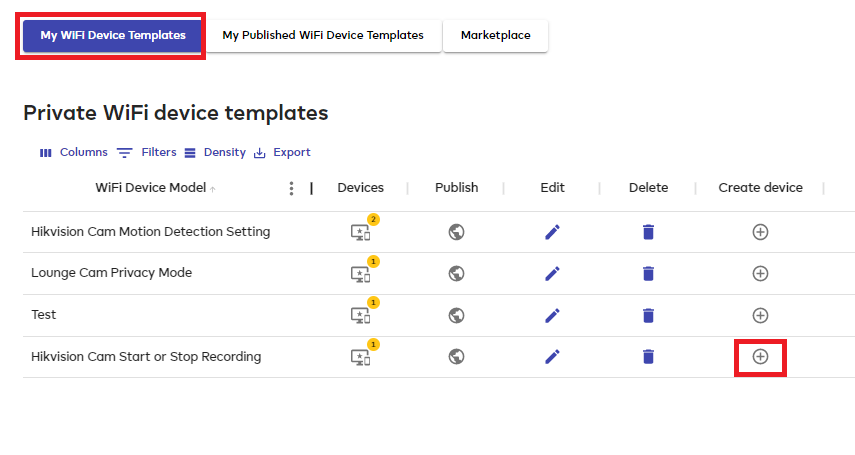
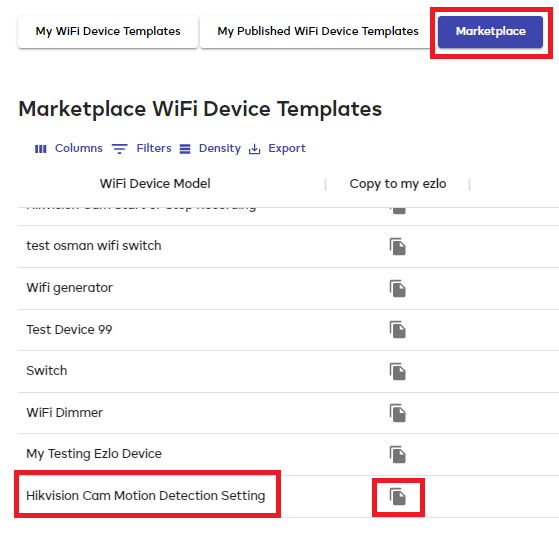
You need to copy down the template from the Marketplace to the “My Wifi Device Templates” area then press the button to create your device.
Give your virtual switch device a name. Enter the local IP address of your Hikvision camera and use port 80. ** Enter admin as the user name and enter your cameras admin password and click the “Create Device” button.

** UPDATE - The plugin dev says this has changed now and the username and password fields here are no longer for HTTP devices, but only to be used for MQTT. So you need to now leave these username and password fields blank and instead do the following:
Go to this website and encode your username:yourpassword into base64, copy the entire resulting string.
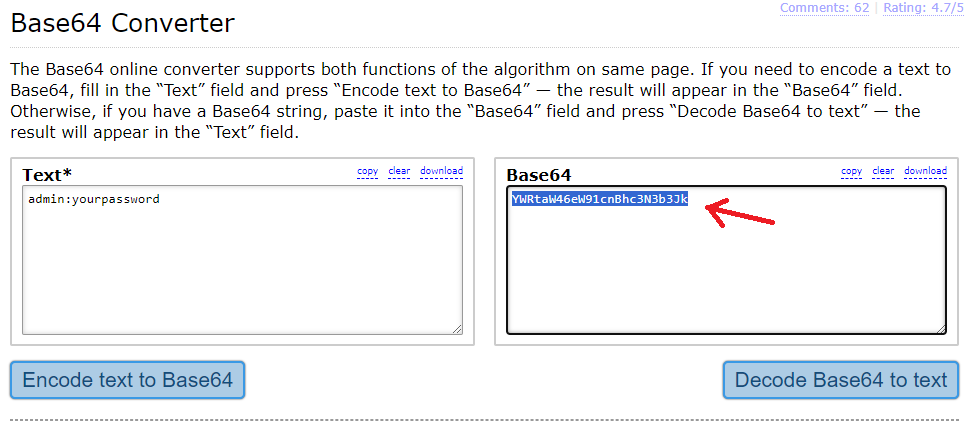
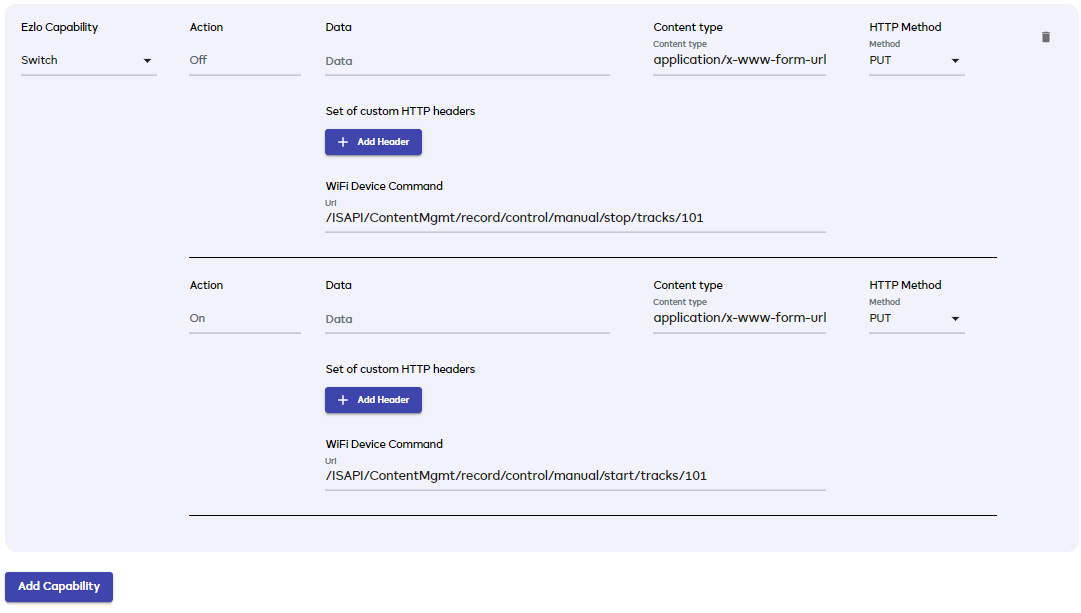
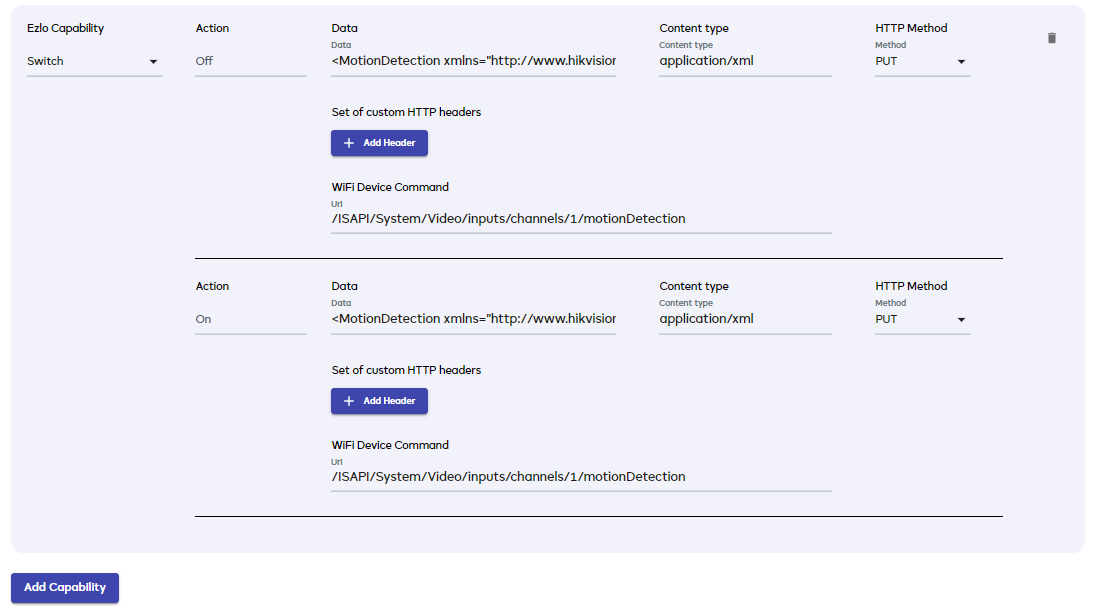
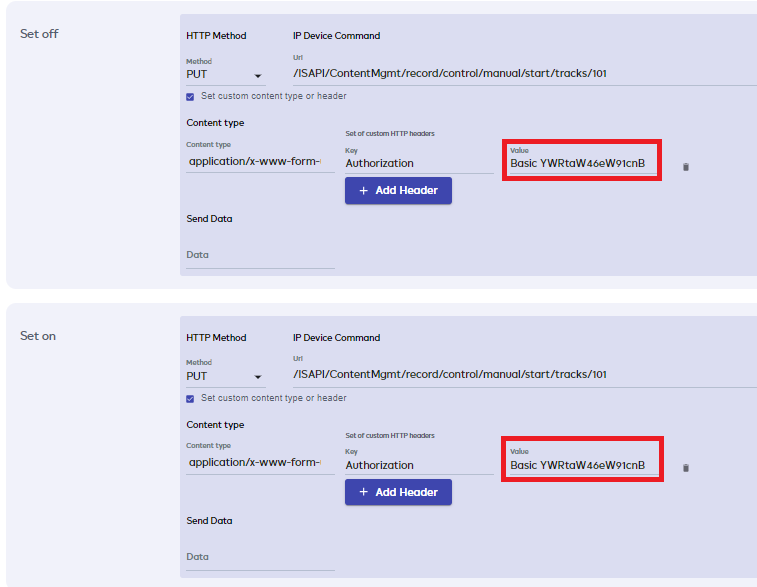
I have updated the templates in the Marketplace to work with this new method using an Authorization header instead, once you have downloaded my Template(s) to your My IP Device Templates area, you will need to edit it and then paste your base64 string in the “value” field after the word “Basic” with a space like this:
Basic YWRtaW46eW91cnBhc3N3b3Jk
You need to do this for both the “Set On” and “Set Off” sections as shown in this example screen shot.
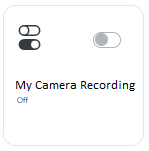
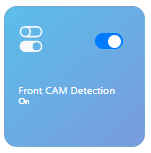
** Then after creating your device, in the dashboard and Vera mobile app you will see your new ON / OFF virtual switch etc.
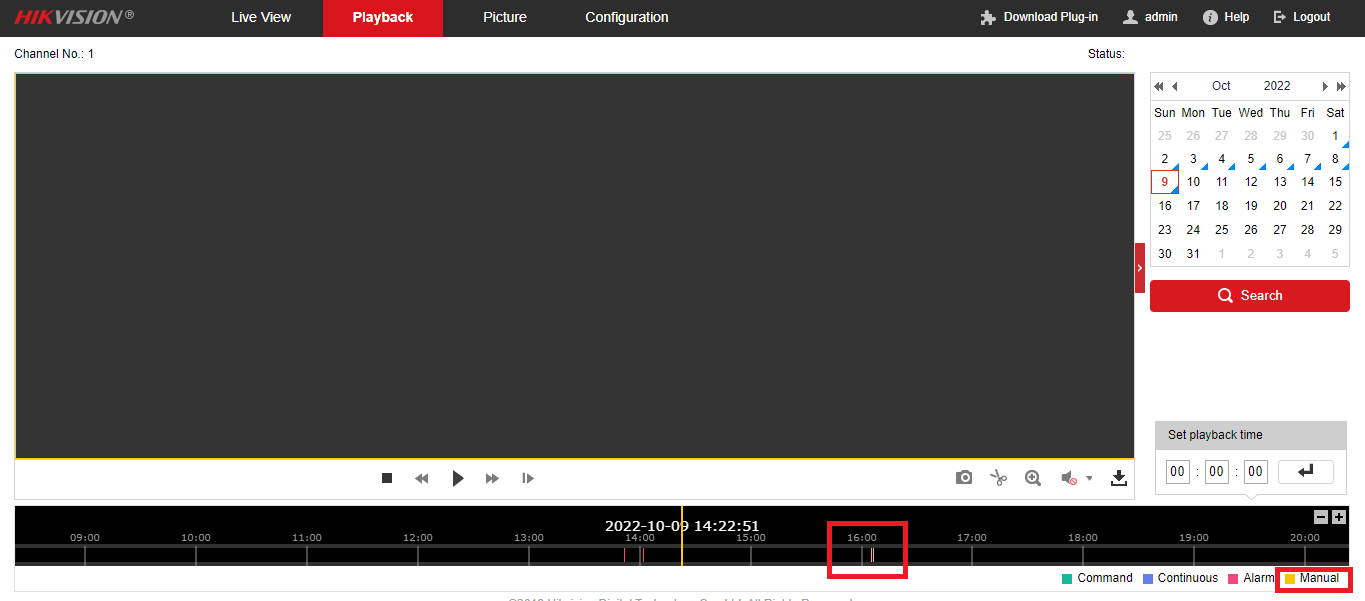
To test its working turn ON the virtual switch for a few minutes then turn it OFF again, you can then login to your cameras admin page and go to “Playback”
“Manual” recordings are marked as Yellow in the timeline. If you click on the yellow marker and then press the “Play” button, that clip should then playback etc.
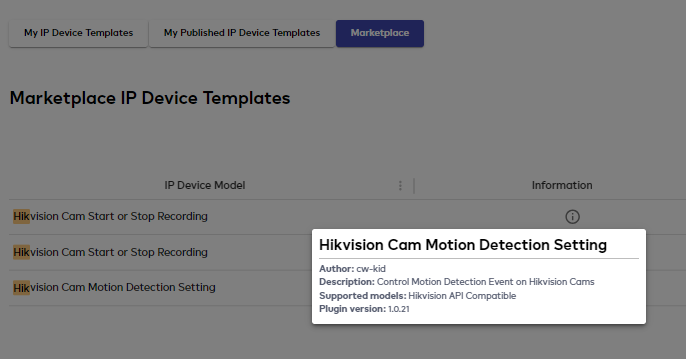
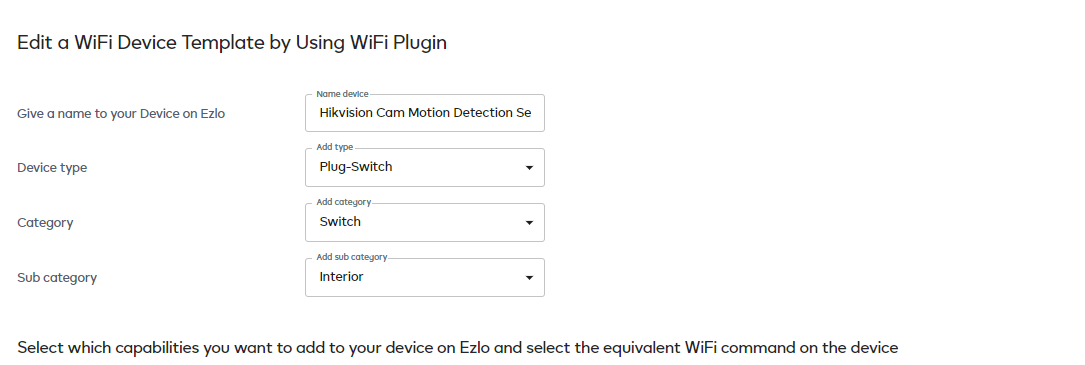
- The second template I made, creates a virtual ON / OFF switch to control the “Motion Detection” setting and enables or disables that particular setting.
Configuration → Event → Basic Event → Motion Detection Tab → Enable Motion Detection
Note - To test if your ON / OFF virtual switch is actually changing this setting, you may need to refresh your browser each time, to monitor if that tick box is being enabled or disabled when using the virtual switch. It doesn’t seem to change dynamically.
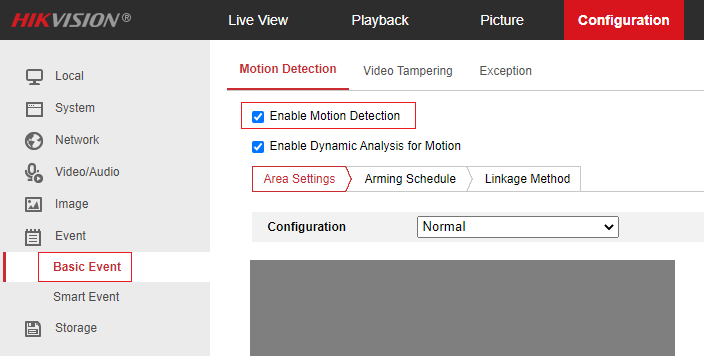
Having the virtual switch turned ON enables the “Motion Detection” setting. Having the virtual switch turned OFF disables the “Motion Detection” setting.
To use this template again you need to copy it down from the marketplace to your “My Wifi Device Templates” area and then click the create device button.
Again you need to give your virtual switch device a name. Enter the local IP address of your Hikvision camera and use port 80. Enter admin as the user name and enter your cameras admin password and click the “Create Device” button.
If you have several Hikvision cameras, you can create multiple virtual switches from these templates. Just change the local IP address to the address of your next camera etc.
UPDATE NOTE - There seems to be some duplicate templates in the Market place, I have asked them to remove my old ones.
However the new working ones are the ones that have Information showing when you press the Info button like this and are currently version 1.0.21