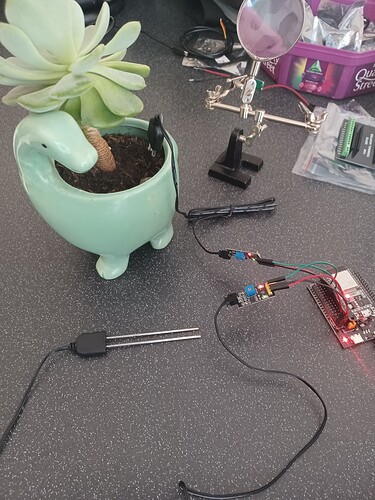
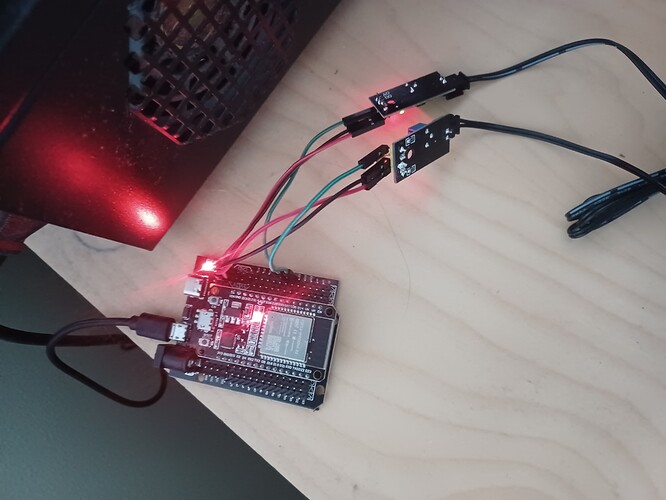
I thought I’d have a go at using some Soil Moisture Sensors and an ESP32 board / EzloPi.
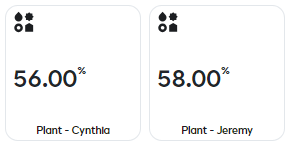
Ezlogic Dynamic Dashboard Tiles:
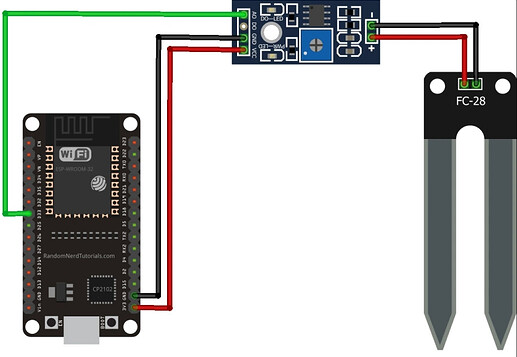
The example tutorial here on the EzloPi website shows how to connect one Soil Moisture Sensor directly to the ESP board.
Here is their wiring diagram for that.
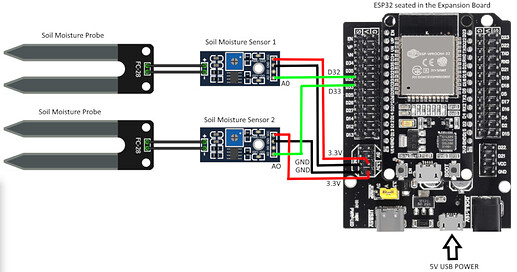
Here is my wiring diagram for two Soil Moisture Sensors and using the expansion board.
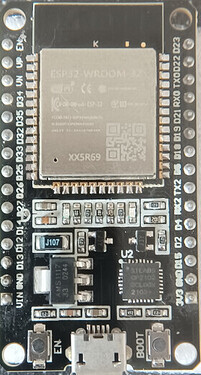
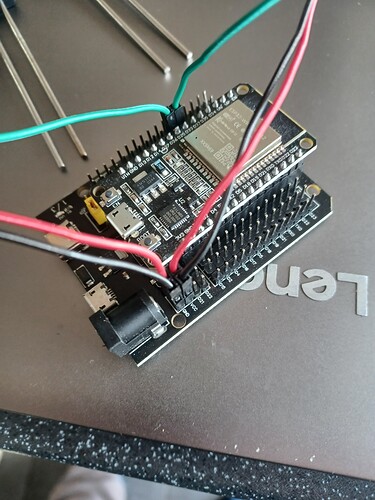
I got an ESP32 board:
ESP32-WROOM-32
Chip Information -
XX5R69
Silabs CP2102
DCL00X
2108+
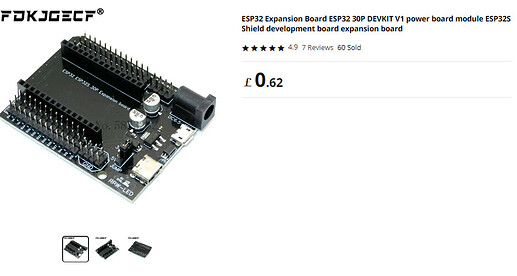
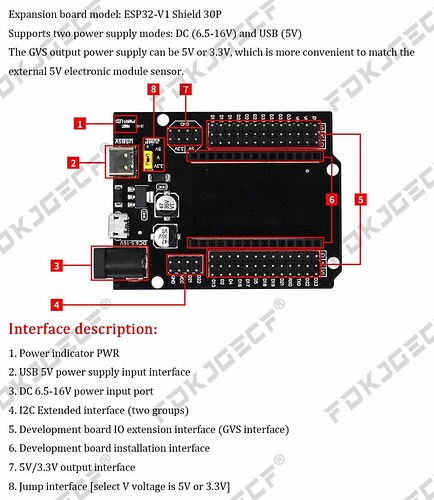
I bought this expansion board also off Aliexpress and using female to female Dupont cables I can easily connect two Soil Moisture Sensors to the two 3.3V and two GND pins that are supplied on the expansion board etc.
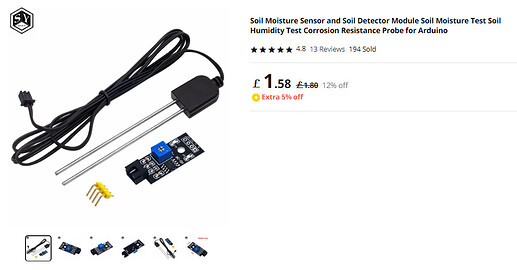
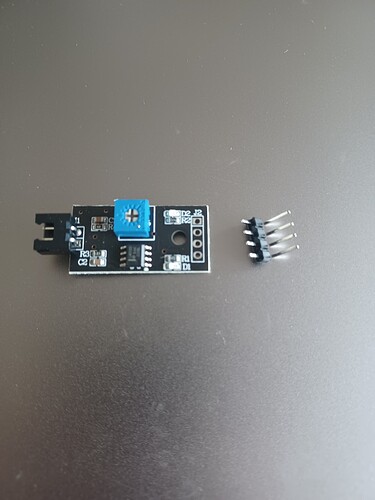
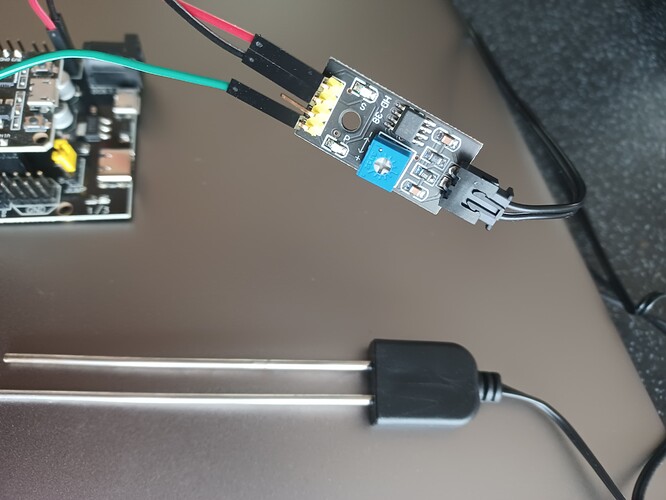
I purchased two of these Soil Moisture Sensor Modules off Aliexpress.
First I downloaded the “Universal” Windows drivers from this page here this enabled my Windows 10 PC to communicate with the ESP board on a USB “Com” port.
Once I had all the wiring done and connected up I then used the EzloPi Web Flasher website to configure my sensors and flash the firmware onto the ESP32 board.
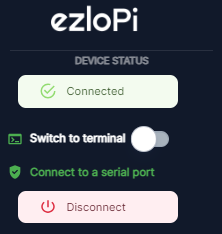
Once your ESP board is connected to your PC via a USB data cable you can click “Connect Device” on the menu.
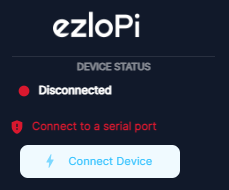
Select the serial port and click the Connect button.
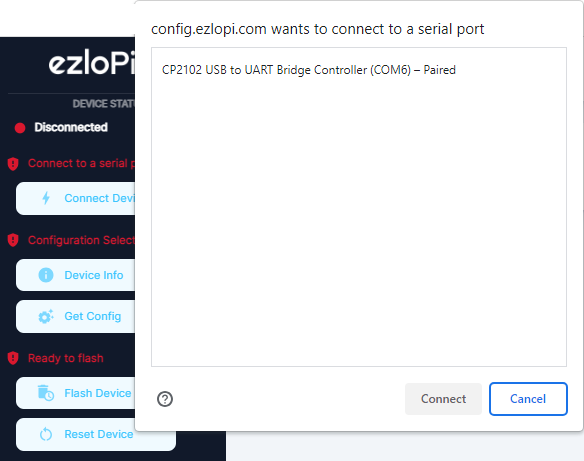
It should then go Green and say Connected
On the first section in the “Manufacturer” “Brand” and “Model” fields you can enter any descriptive text you wish.
Note the “EzloPi Device ID” is auto generated and will be the serial number of this EzloPi “Controller” that you will see on your account etc. Also enter your 2.4Ghz WIFI SSID name and password, this is the WIFI that the ESP board will be connected too.
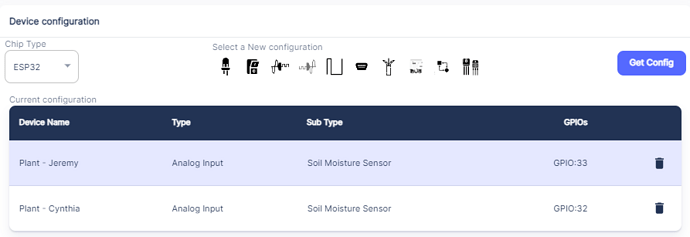
Here I used the Analog Input option twice and added two, one for GPIO Pin 33 and one for GPIO Pin 32.
You can name your sensor in the first field on this dialogue box.
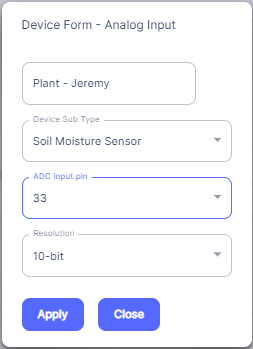
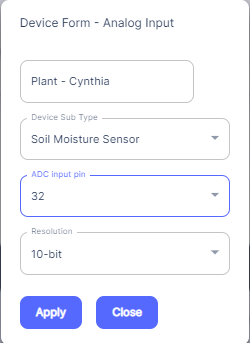
Once you have added both Analog Inputs and configured them you can click the “Flash Device” button.

You will then see this pop-up message telling you to press the “Boot” button on the ESP32 board.

Once you have done that you will then see this pop-up message. Here you need to be patient and wait, it can take sometime to flash the firmware on to the board.

Once its done you will then see this pop-up mesage.

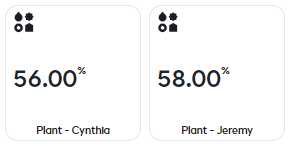
You should then see your two new Soil Moisture Sensors in the Ezlogic dynamic dashboard page.
Note - If you do not see them you might need to go to the Settings - Controllers area in the Ezlogic Web UI and add the EzloPi “Controller” into your existing Controller group.
When the soil probe is dry and just in air it should read 0%. Then when you put the probe into soil, you should get a percentage reading…
Meshbot triggers are coming soon for EzloPi sensor devices also.
If you missed it, my first EzloPi project was here.
